
Grow your microgreens
Supplement and diversify your diet
1. Definition and characteristics
The term microgreens refers to the second stage of germination. They differ from sprouts by their more advanced growth stage. You have very probably already heard of soybean sprouts? They are simply sprouted soybean seeds, consumed before the first leaves appear.
Unlike sprouts, microgreens are harvested and therefore consumed between the emergence of the cotyledons and the appearance of the first true leaves. The cotyledons, the plant’s first primordial leaves, initiate photosynthesis. They then allow the young plant to produce its own energy after using all the energy provided by the seed.
NoteThe shape of the cotyledons is different from that of the true leaves formed later.
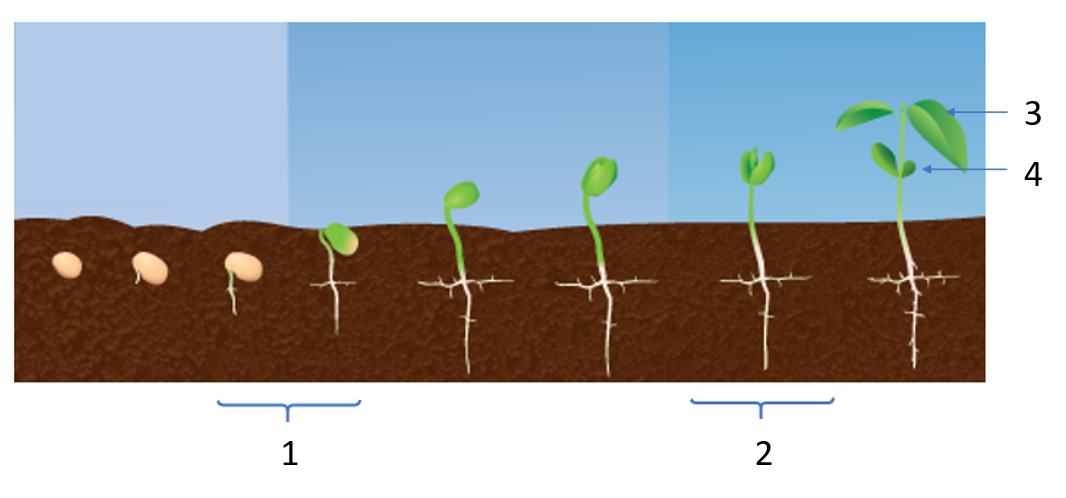
1 - Sprouts
2 - Young shoots
3 - First true leaves
4 - Cotyledon
At these two stages of development, a large part of the energy contained in the seed is released to allow the formation of the cotyledons and becomes more easily assimilated by the human body. Vitamin, mineral and antioxidant concentrations will be higher than in mature plants.
Nutritional value30 g of young broccoli shoots provide an amount of antioxidants equivalent to 1 kg of mature broccoli
| Species | Characteristics |
|---|---|
| Broccoli | Vitamins (A, C, E, K1) Calcium, potassium, phosphorus, magnesium Rich in antioxidants Reduced risk of cancer |
| Green peas | Vitamins: A, C, E Proteins Iron, magnesium, manganese, zinc |
| Sunflower | Proteins, vitamins (A, C, E) Rich in fibre Calcium, potassium, phosphorus, iron Cholesterol regulation Reduced risk of diabetes |
| Chia | Rich in antioxidants Rich in fibre Calcium, magnesium and proteins |
| Daikon radish | Rich in vitamins A, B, C and E. Rich in magnesium, phosphorus, calcium, iron, zinc, copper, potassium and selenium |
| Buckwheat | Has a low glycaemic index. Rich in fibre, therefore helps digestion. Rich in manganese, magnesium, copper, iron and phosphorus |
2. Growing microgreens
The key steps for growing microgreens:
1) Soaking the seeds (optional)
To speed up the germination process, you can soak your seeds in water for about 8 hours.
This step is not mandatory. It is sometimes easier to place the dry seeds directly on the potting soil. In that case, water the potting soil more and check that the seeds remain moist at all times.
Good to knowSeed imbibition is accompanied by water uptake and swelling of the seed, which later promotes the rupture of the outer layers and the emergence of the radicle.
2) Preparing the substrate
Place 2 to 3 cm of potting soil evenly in the growing trays.
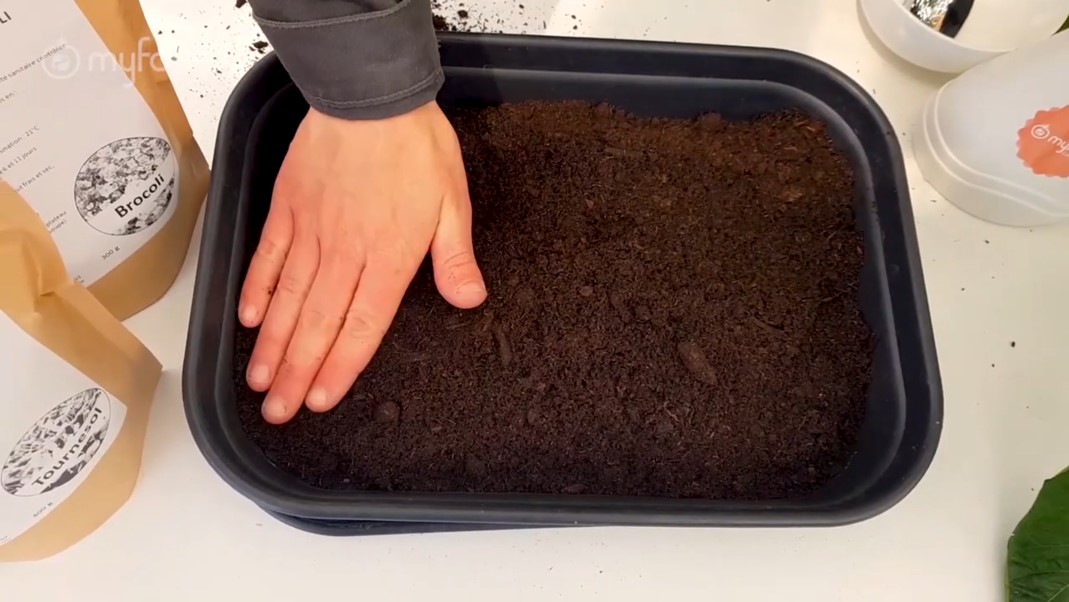
Placing the potting soil
3) Moistening the substrate
Even if the seeds have been hydrated beforehand for several hours, it is important to moisten the substrate to promote the emergence of the radicle.
If you did not carry out the soaking step, moisten the substrate more. You can water the potting soil with the spray bottle or directly with a stream of water.
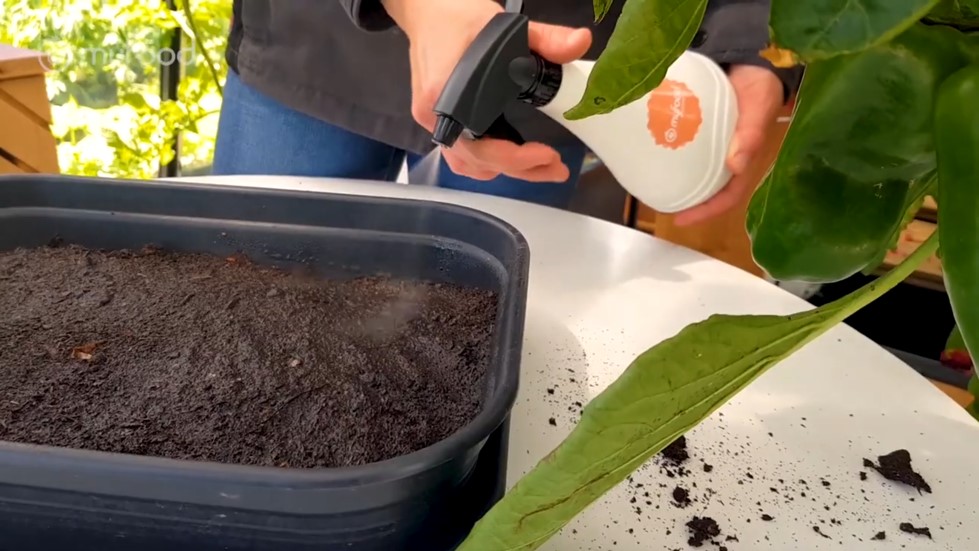
Moistening the potting soil by spraying
Do not moisten the substrate too much.Do not moisten too much to avoid mould development and do not drown the seeds!
As an indication, pour about 500 to 700 mL of water, then mix the potting soil to make it even
4) Distributing the seeds
Once the potting soil is moistened, you can place the seeds in the trays. It is best to rinse them one last time beforehand.
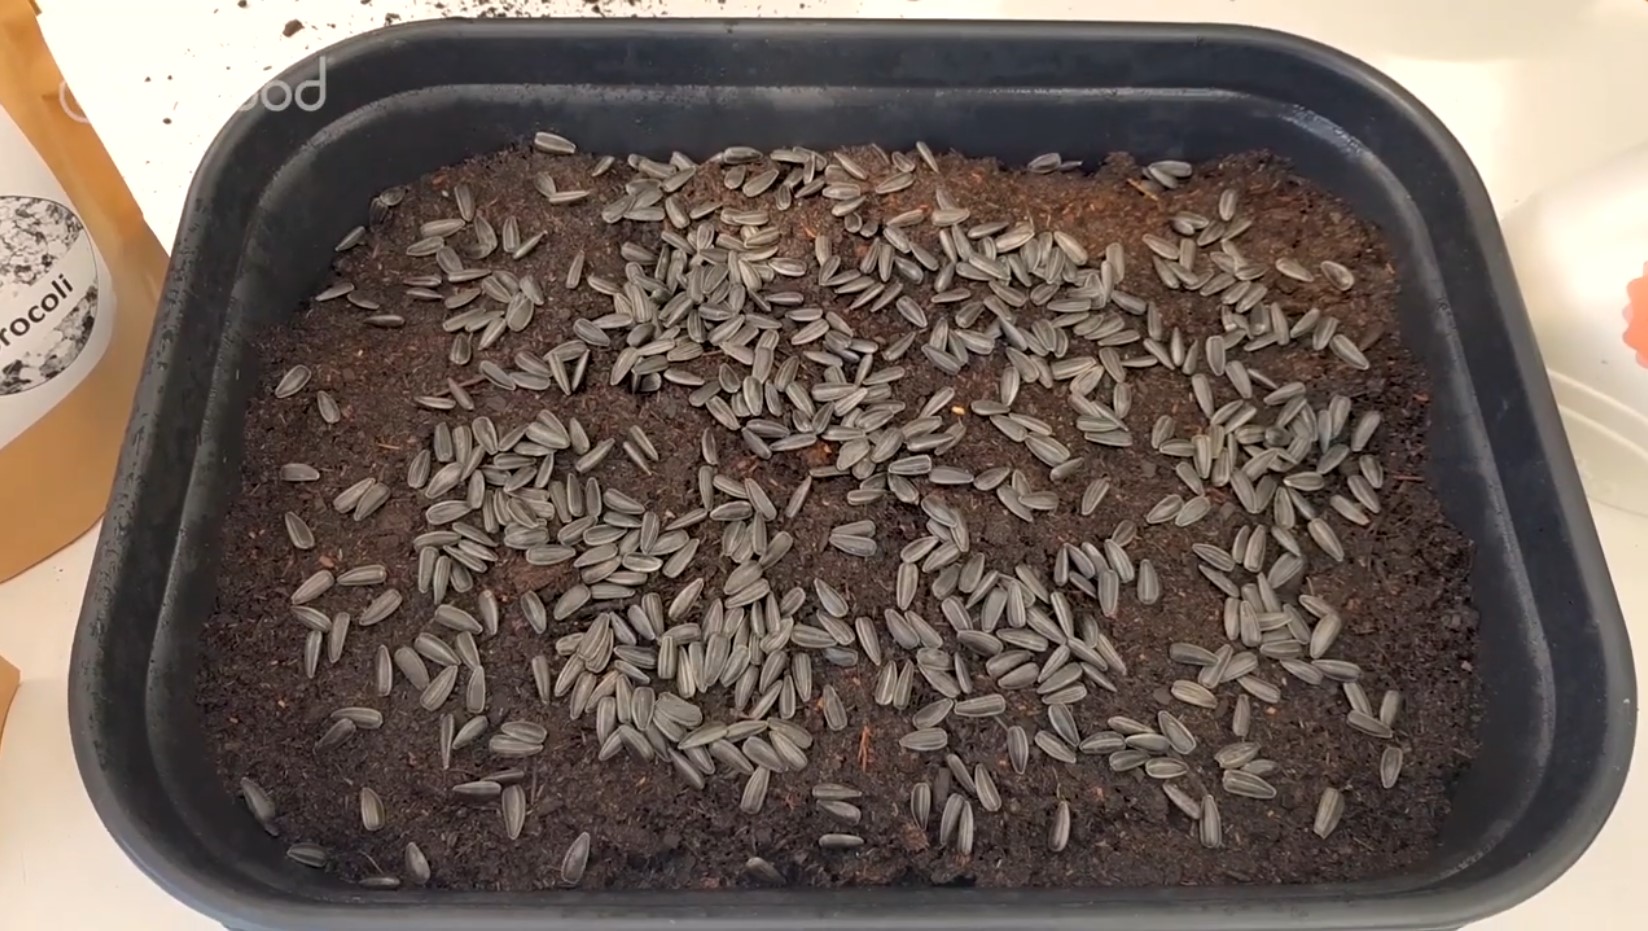
Sunflower seeds placed on the potting soil
5) Stacking the trays
To promote elongation of the young shoots, stack the growing trays during the first 3 to 6 days of cultivation. It is during this stage that the seeds will germinate and the stems will gradually elongate.
Monitor their development once a day, and make sure they do not lack water. If they do, use the spray bottle to moisten them.
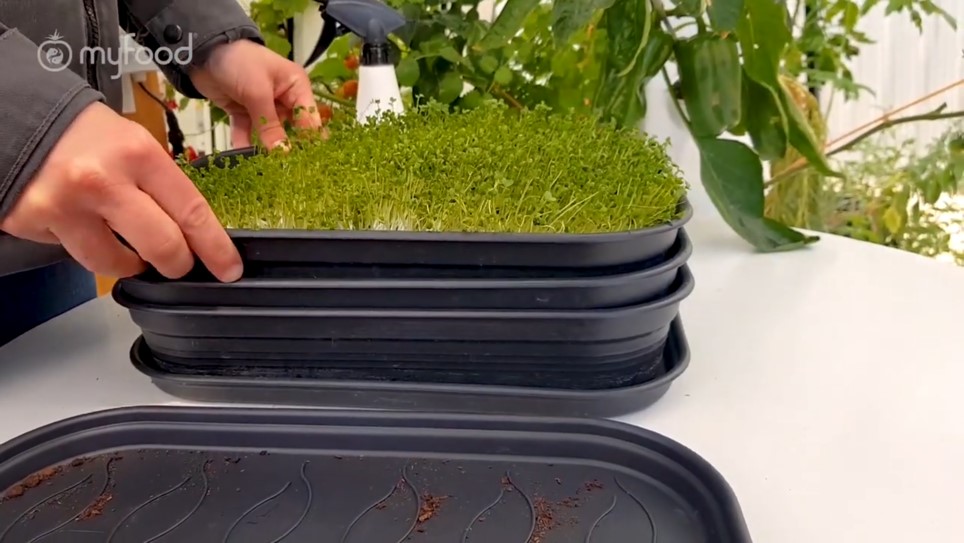
Stacking the trays
Good to knowPlaced in the dark, the young plants will elongate to search for light. The microgreens will then be longer and therefore easier to harvest later.
Stacking the trays also allows the seed to be in direct contact with the soil, thus promoting the anchoring of future roots.
NoteThe shoots are yellow for now, but they will turn green later when they are placed in the light
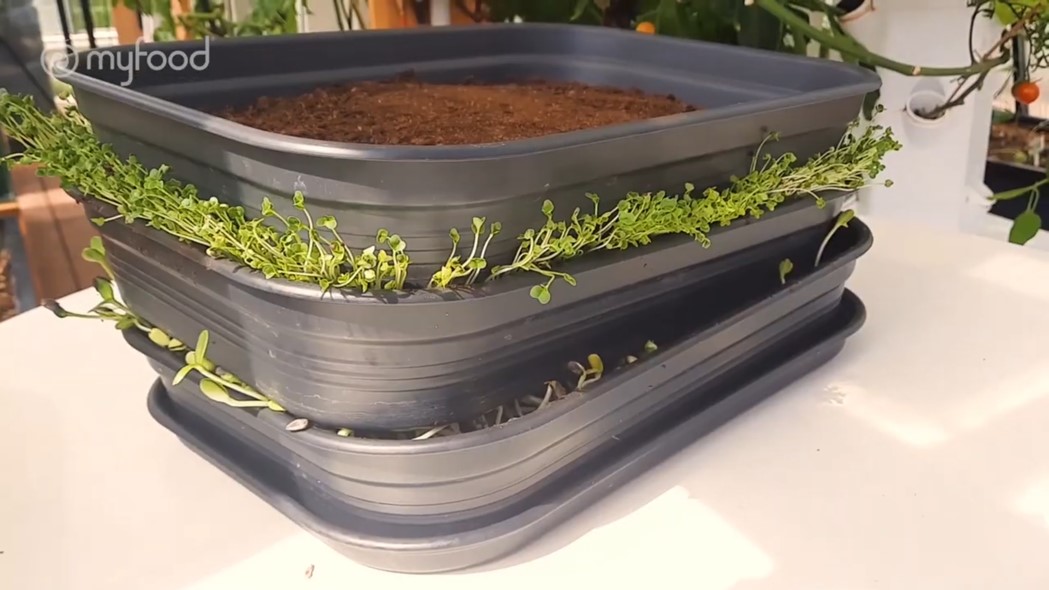
Elongation of broccoli shoots (upper tray) and sunflower shoots (lower tray) after 3 days in the dark
6) Growth of the young shoots
After spending two to three days in the dark, the microgreens can be moved into the light until they are ready to be consumed. The dome can be placed at this stage if the temperature is below 25°C.
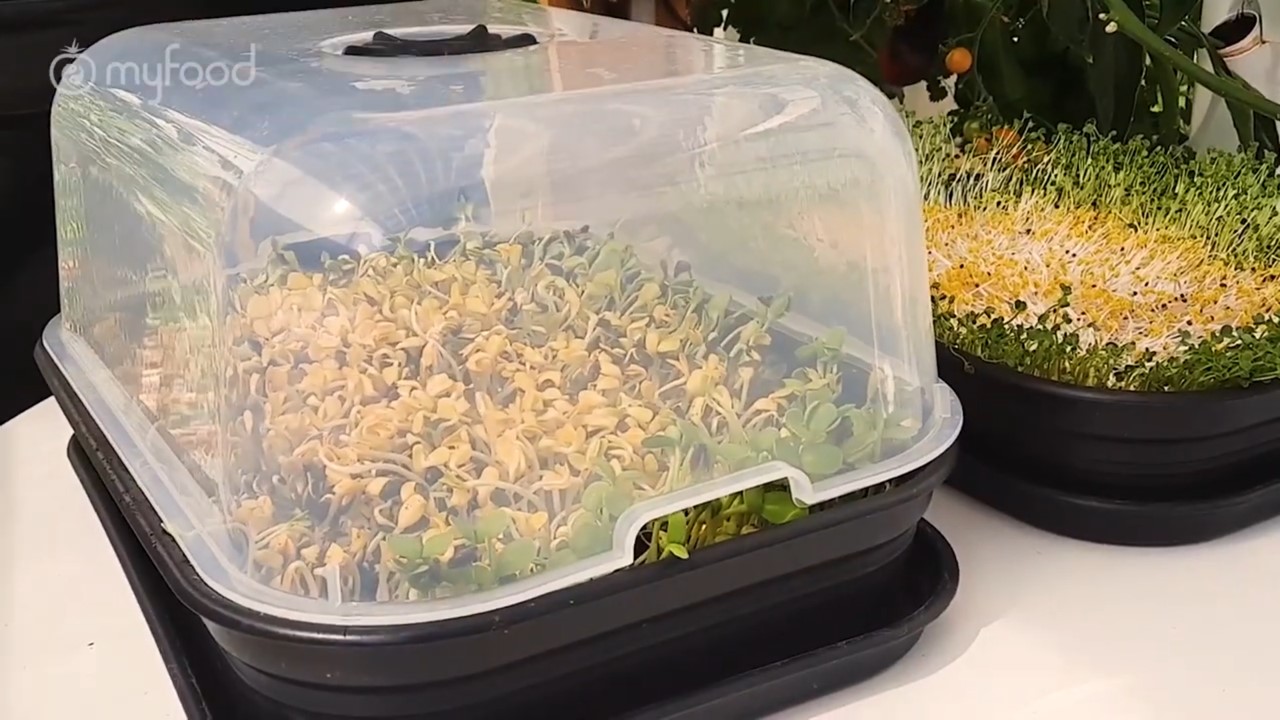
Covering sunflower shoots with a dome to promote greening of the cotyledons
Once the cotyledons have formed, remember to water them regularly from below, using the saucer.
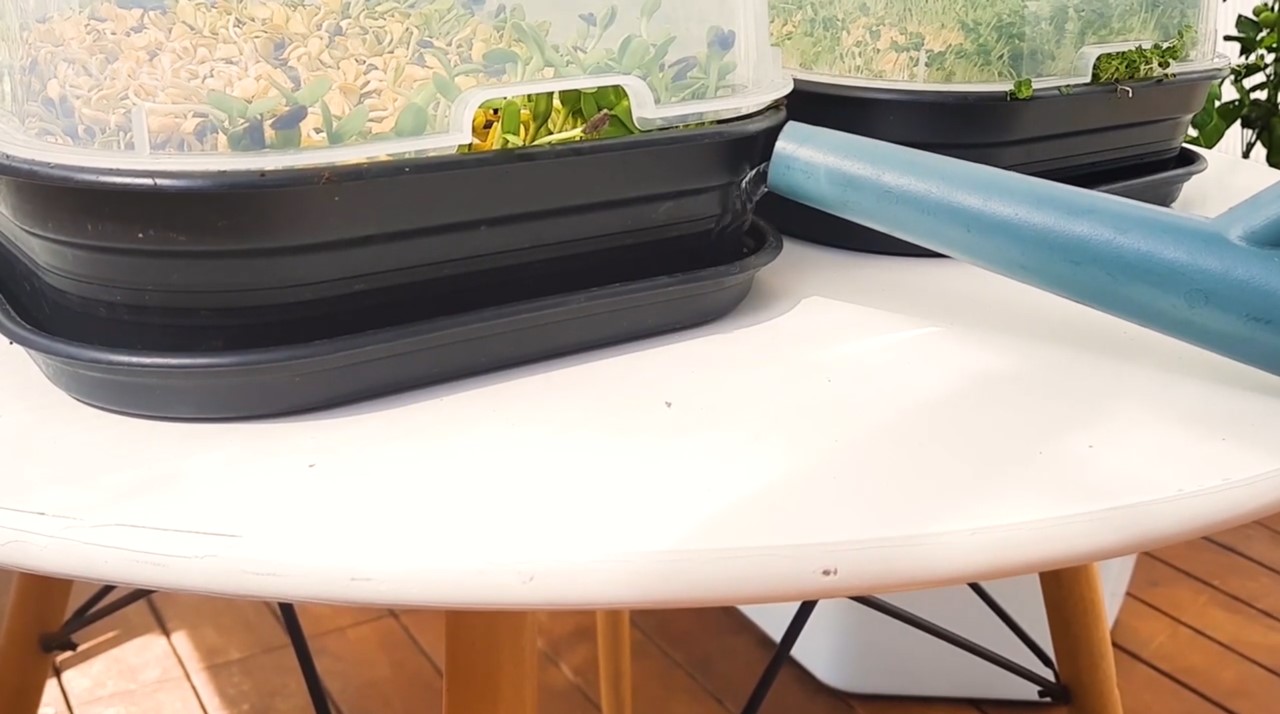
Regular watering via the saucer
7) Finally, harvest time!
After 7 to 9 days of cultivation depending on the species and weather conditions, the young shoots are ready to be harvested and consumed.
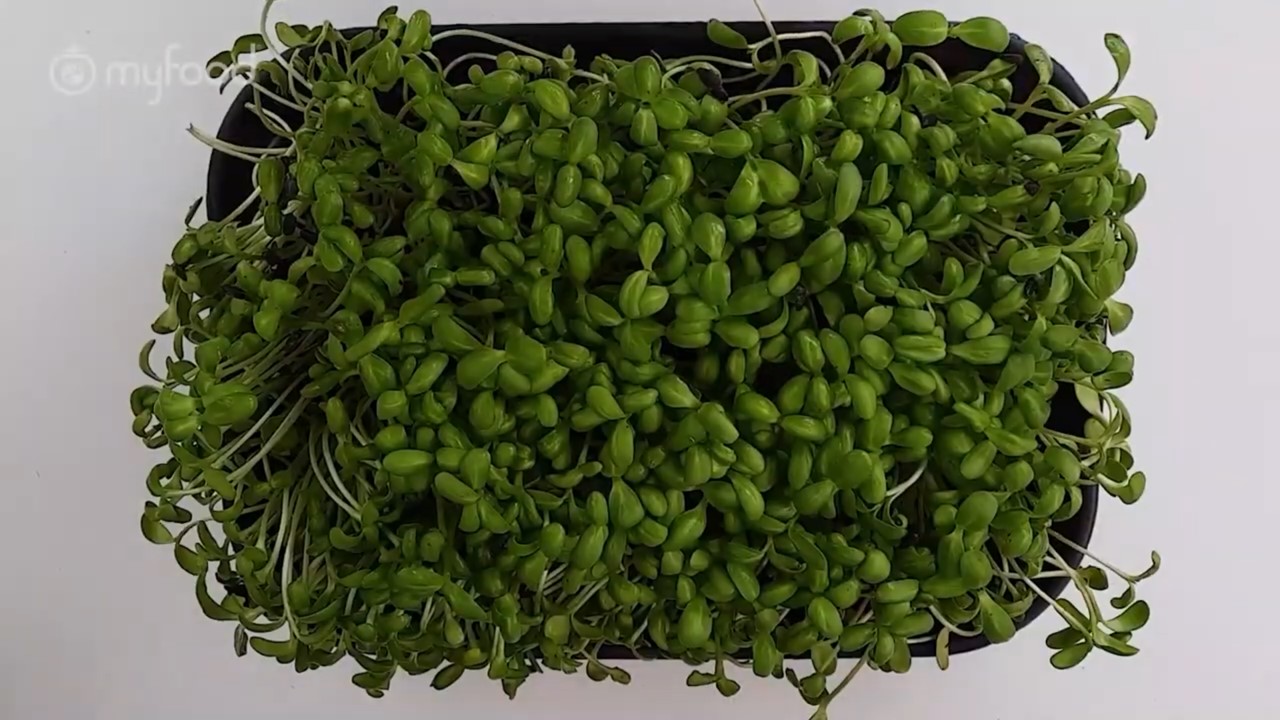
Sunflower microgreens ready to be harvested
To do this, take a pair of scissors or a knife (preferably non-serrated) and cut the stems just above the potting soil.
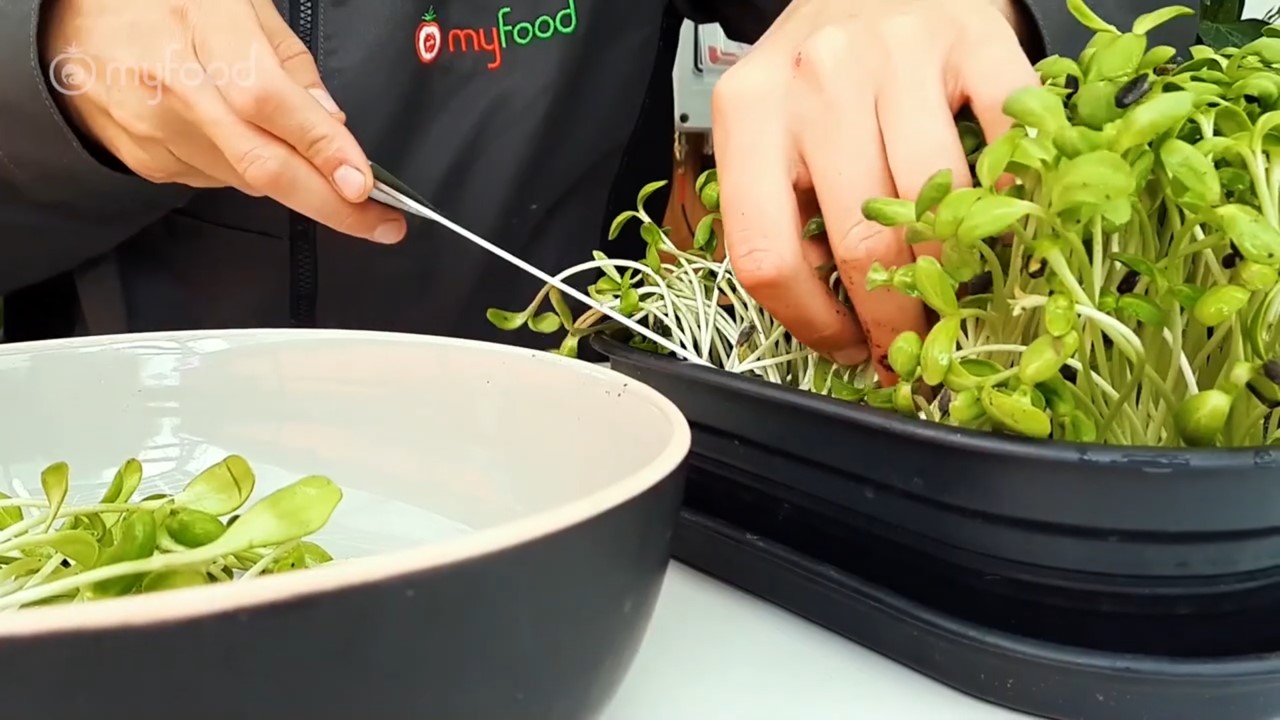
Harvesting sunflower microgreens
GuidanceHarvesting is done at the development stage between the emergence of the cotyledons and the appearance of the first true leaves.
Avoid including soil particles as much as possible when harvesting your young shoots.
8) Storage
After harvesting, rinse the microgreens, especially around the cut parts, then wipe off the excess water. You can keep them like this for 3 to 4 days in a container in the refrigerator or consume them directly.
If you want to preserve their freshness and nutritional quality, it is best to harvest them gradually as you consume them.
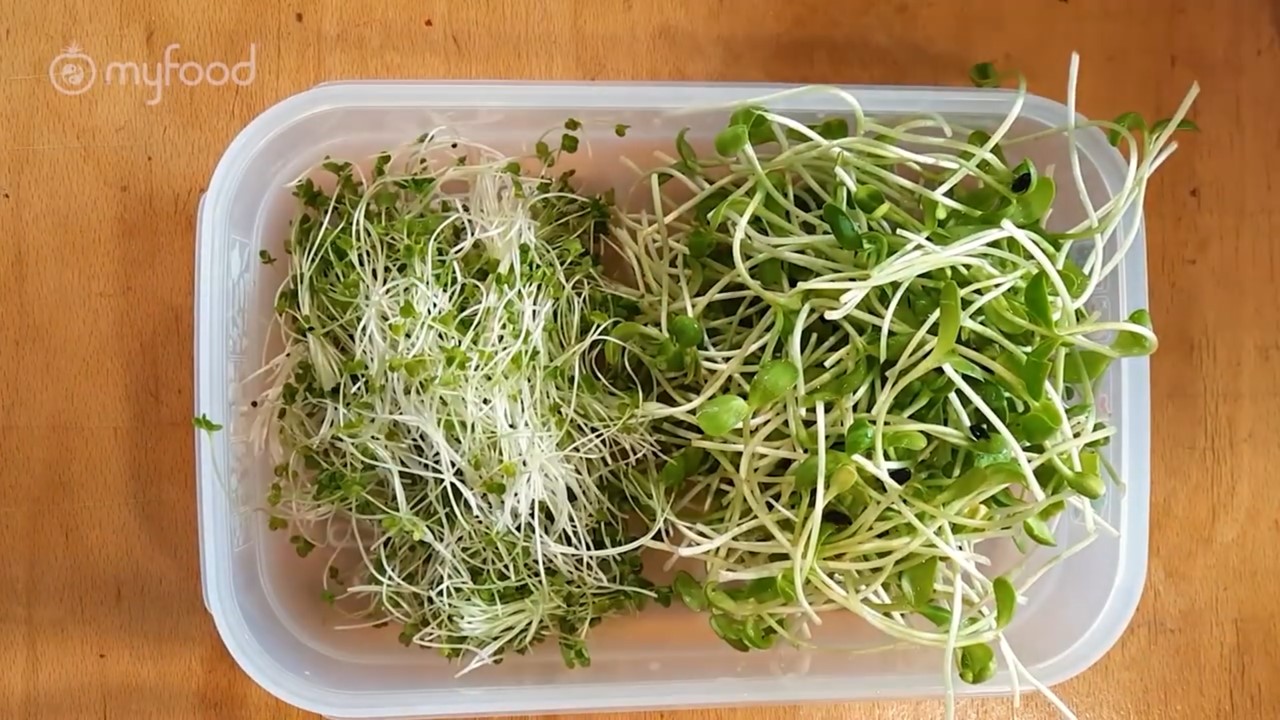
Storing microgreens in an airtight container in the refrigerator
3. Specific growth characteristics
Under optimal growing conditions, here are the specific features of the proposed species:
| Species | Quantity of seed per tray | Time before harvest |
|---|---|---|
| Broccoli | 2 tablespoons (about 20 g) | 6 - 11 days |
| Green peas | 4 tablespoons (about 50 g) | 6 - 15 days |
| Sunflower | 4 tablespoons (about 50 g) | 6 - 15 days |
| Chia | 1 to 2 tablespoons (about 10-15g) | 6 - 11 days |
| Daikon radish | 4 tablespoons | 6 - 15 days |
| Buckwheat | 3 tablespoons | 6 - 15 days |
| Temperature | Stacking | Watering | Dome |
|---|---|---|---|
| < 25°C | 5 to 6 days | Every three days (about 100 mL) | Yes |
| 3 to 4 days | Every two days (about 100 mL) | No |
Use the spray bottle during the stacking period, then water via the saucer when the microgreens are placed in the light.
Warning: the potting soil must remain moist at all times to avoid dehydration of the microgreens!
4. A few ideas for enjoying your microgreens
Your microgreens can be enjoyed in salads and used to garnish your dishes (omelette, toast, gratin).
A few images to give you some ideas: