
Prepare your seedlings with the LED incubator
To grow strong, healthy plants
Thanks to this kit, you will be able to monitor the growth of your seedlings, from seed until they are put into cultivation. Easy to use and autonomous, it will allow your seeds to germinate and develop under the best conditions to maximize your chances of success.
Seed qualitySeed germination varies depending on their quality.
Our seeds and plants sold are selected according to the quality criteria presented here.
1. Components
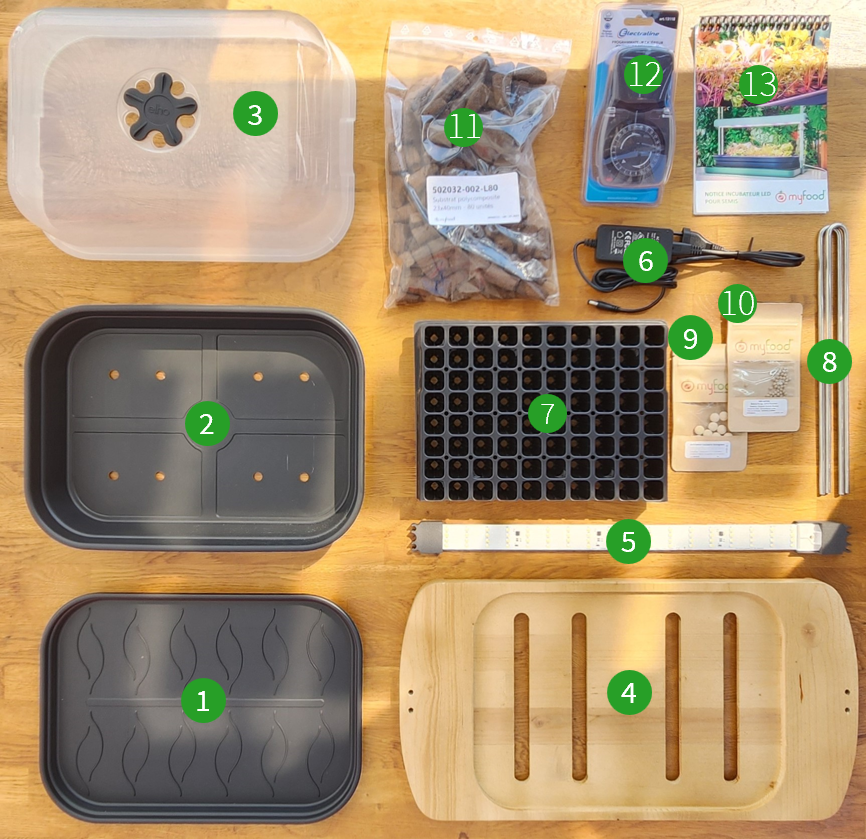
1 - Saucer
2 - Growing tray
3 - Dome
4 - Wooden stand
5 - LED lamp
6 - Power cable
7 - Tray adapted for plugs
8 - Bent aluminium rods
9 - Root activator (5g)
10 - Seed mix
11 - 80 peat plugs
12 - Timer
13 - User manual
2 ) Characteristics of sowing preparation
Some fundamental parameters must be controlled to ensure the development of healthy seedlings.
Organic substrate
- Peat-based
- Provides the nutrients needed for seedling growth
- Optimal water retention
- Aeration of the seedlings' root system
- Good seed germination and seedling growth
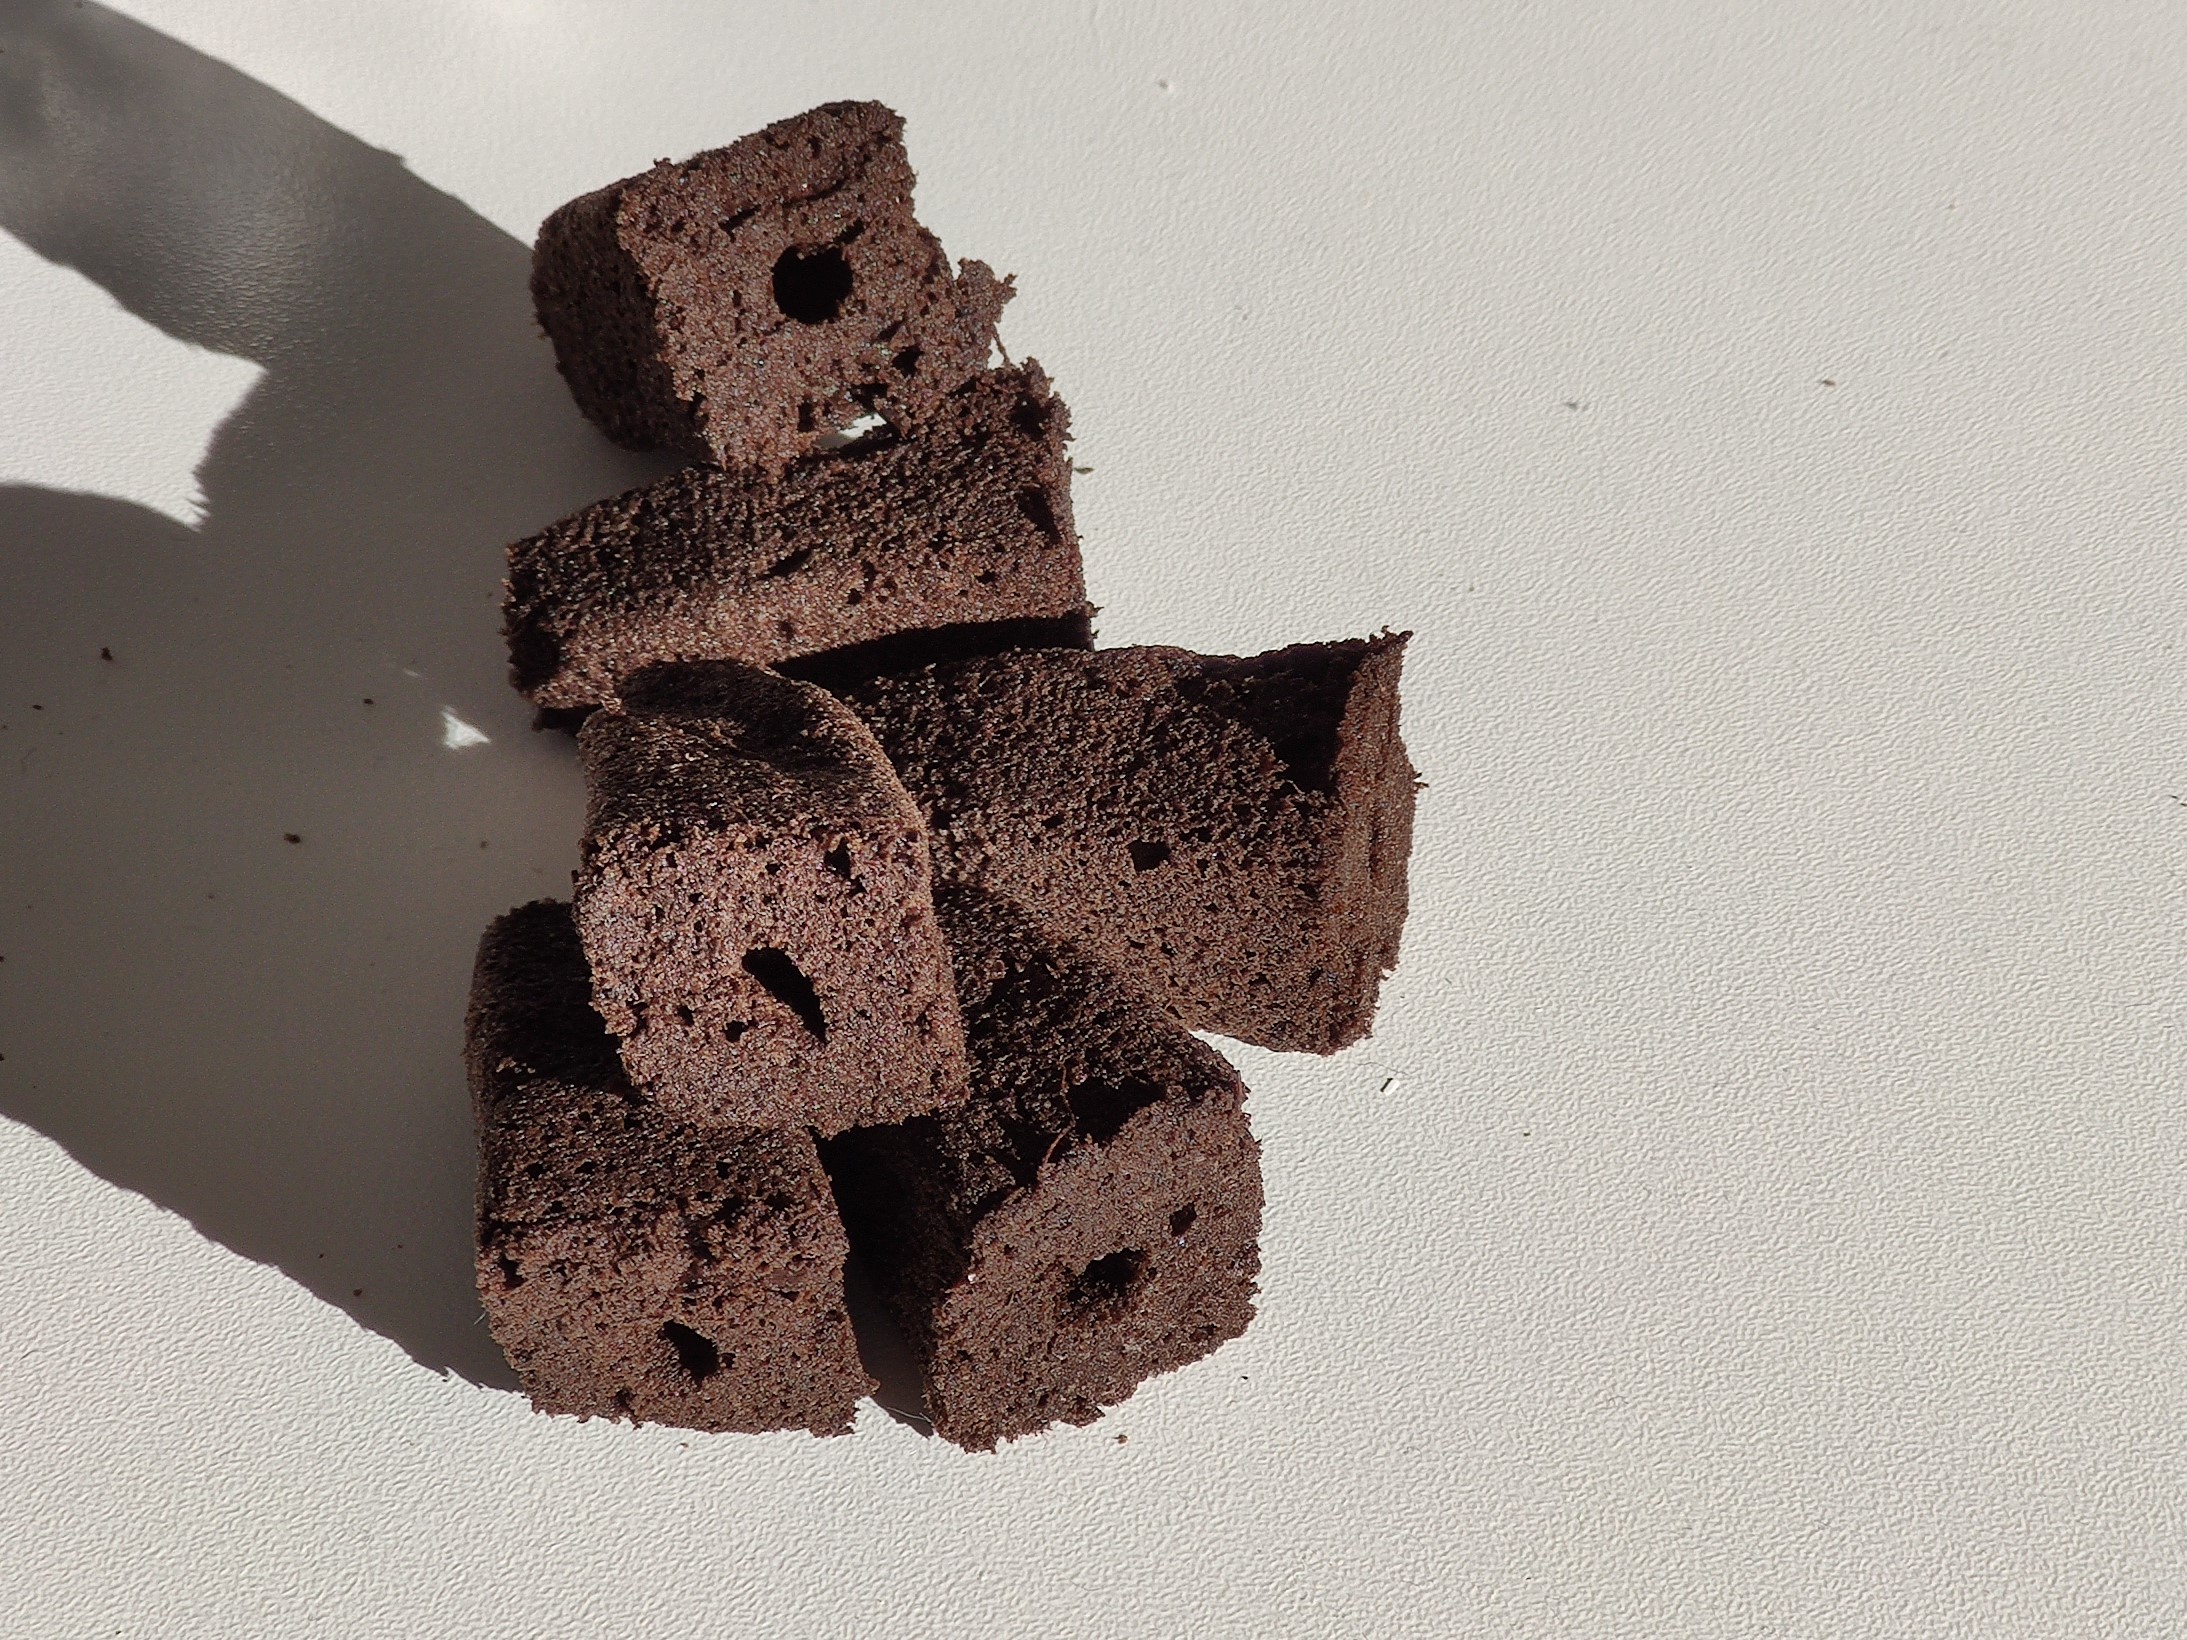
Photo of peat-based plugs
Lighting
- Low energy consumption (LED lamp 20W)
- Selected frequency adapted to seedling growth, from seed until a mature plant is obtained
- Adjustable height (from 5 to 30 cm)
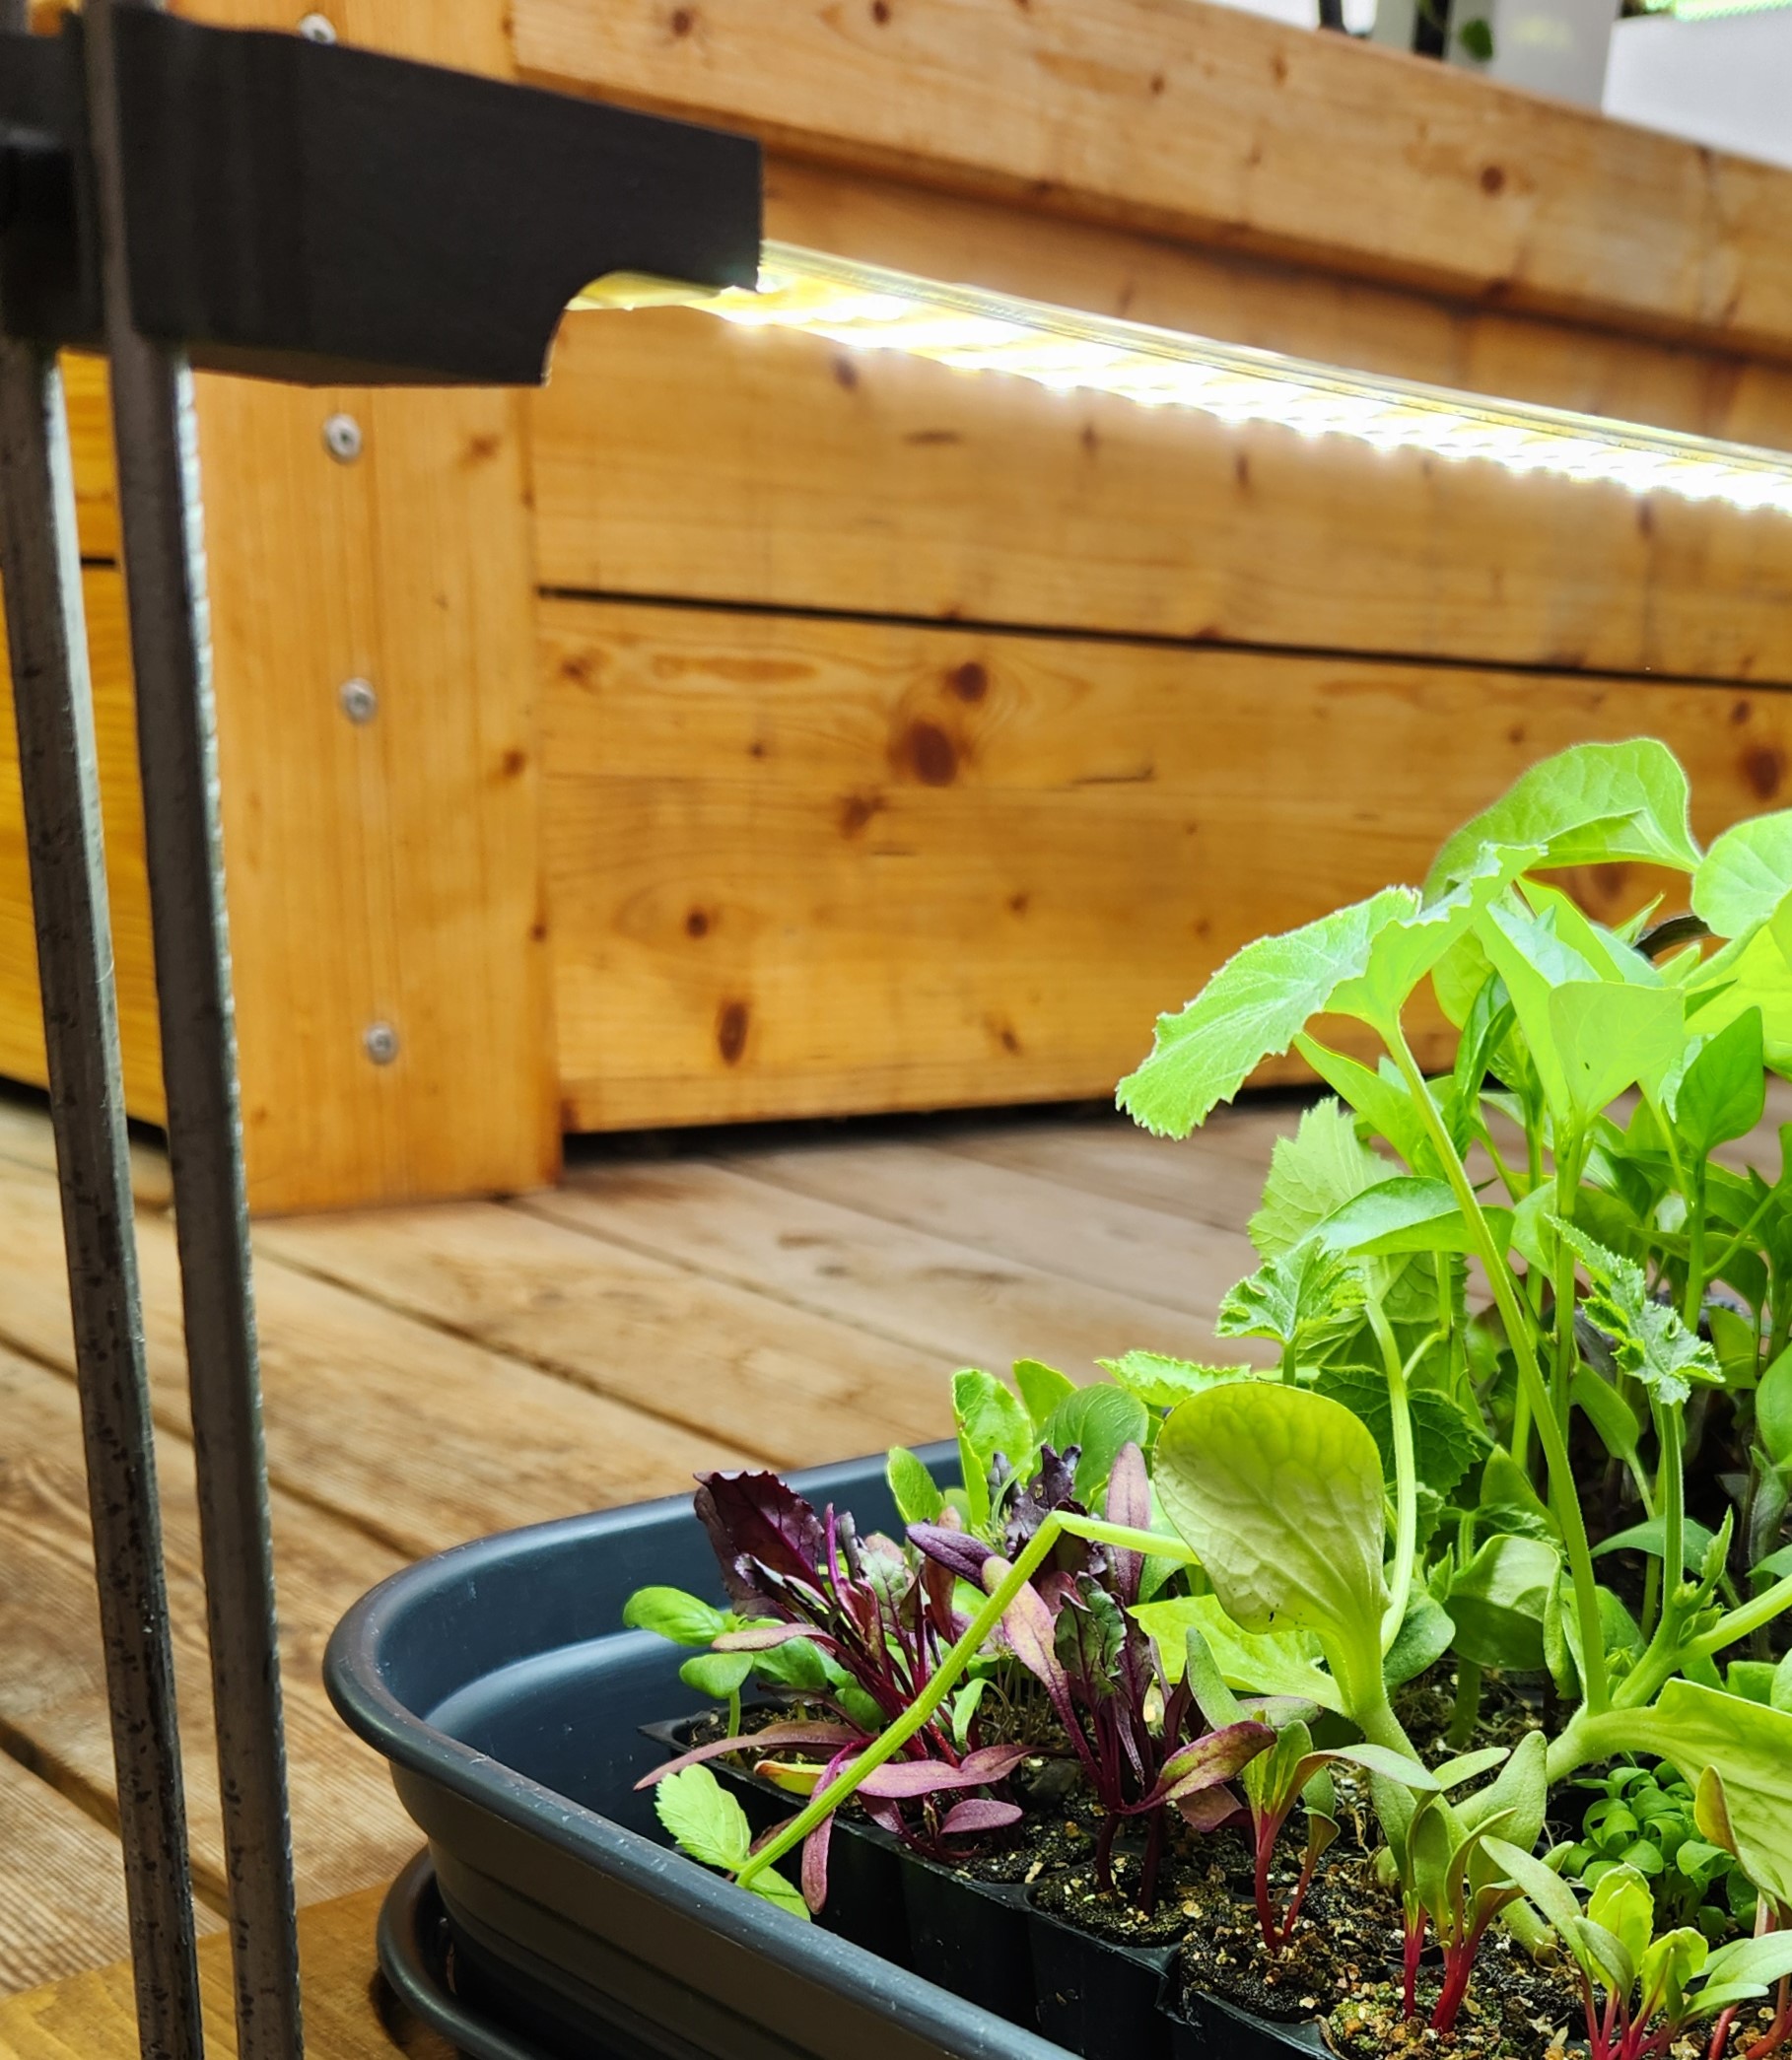
3. Starting the seed propagator
- Assemble the metal rods onto the seed propagator stand.
- Insert the LED lamp, then its protection, into the metal rods.
- Place the plugs in their adapted tray.
- Put the saucer and the growing tray with the plugs under the lamp.
- Carry out your sowing according to the layout below.
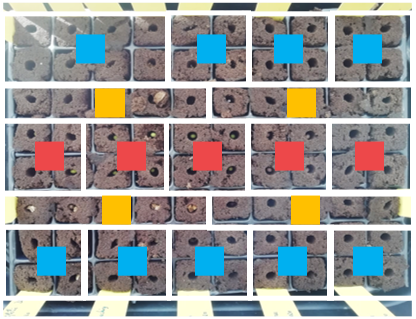

1 : High light requirement:
Salads: lettuce, chicory
2 : Moderate light requirement:
Cabbages, chard, spinach, Malabar spinach
3 : Low light requirement:
Celery, cucumber, pepper, tomato, herbs
Sowing layoutIf you are not using all the available spaces in the seed propagator,
prioritize the spaces in the centre where the light is stronger.
4. Adjust the height of the LED bar
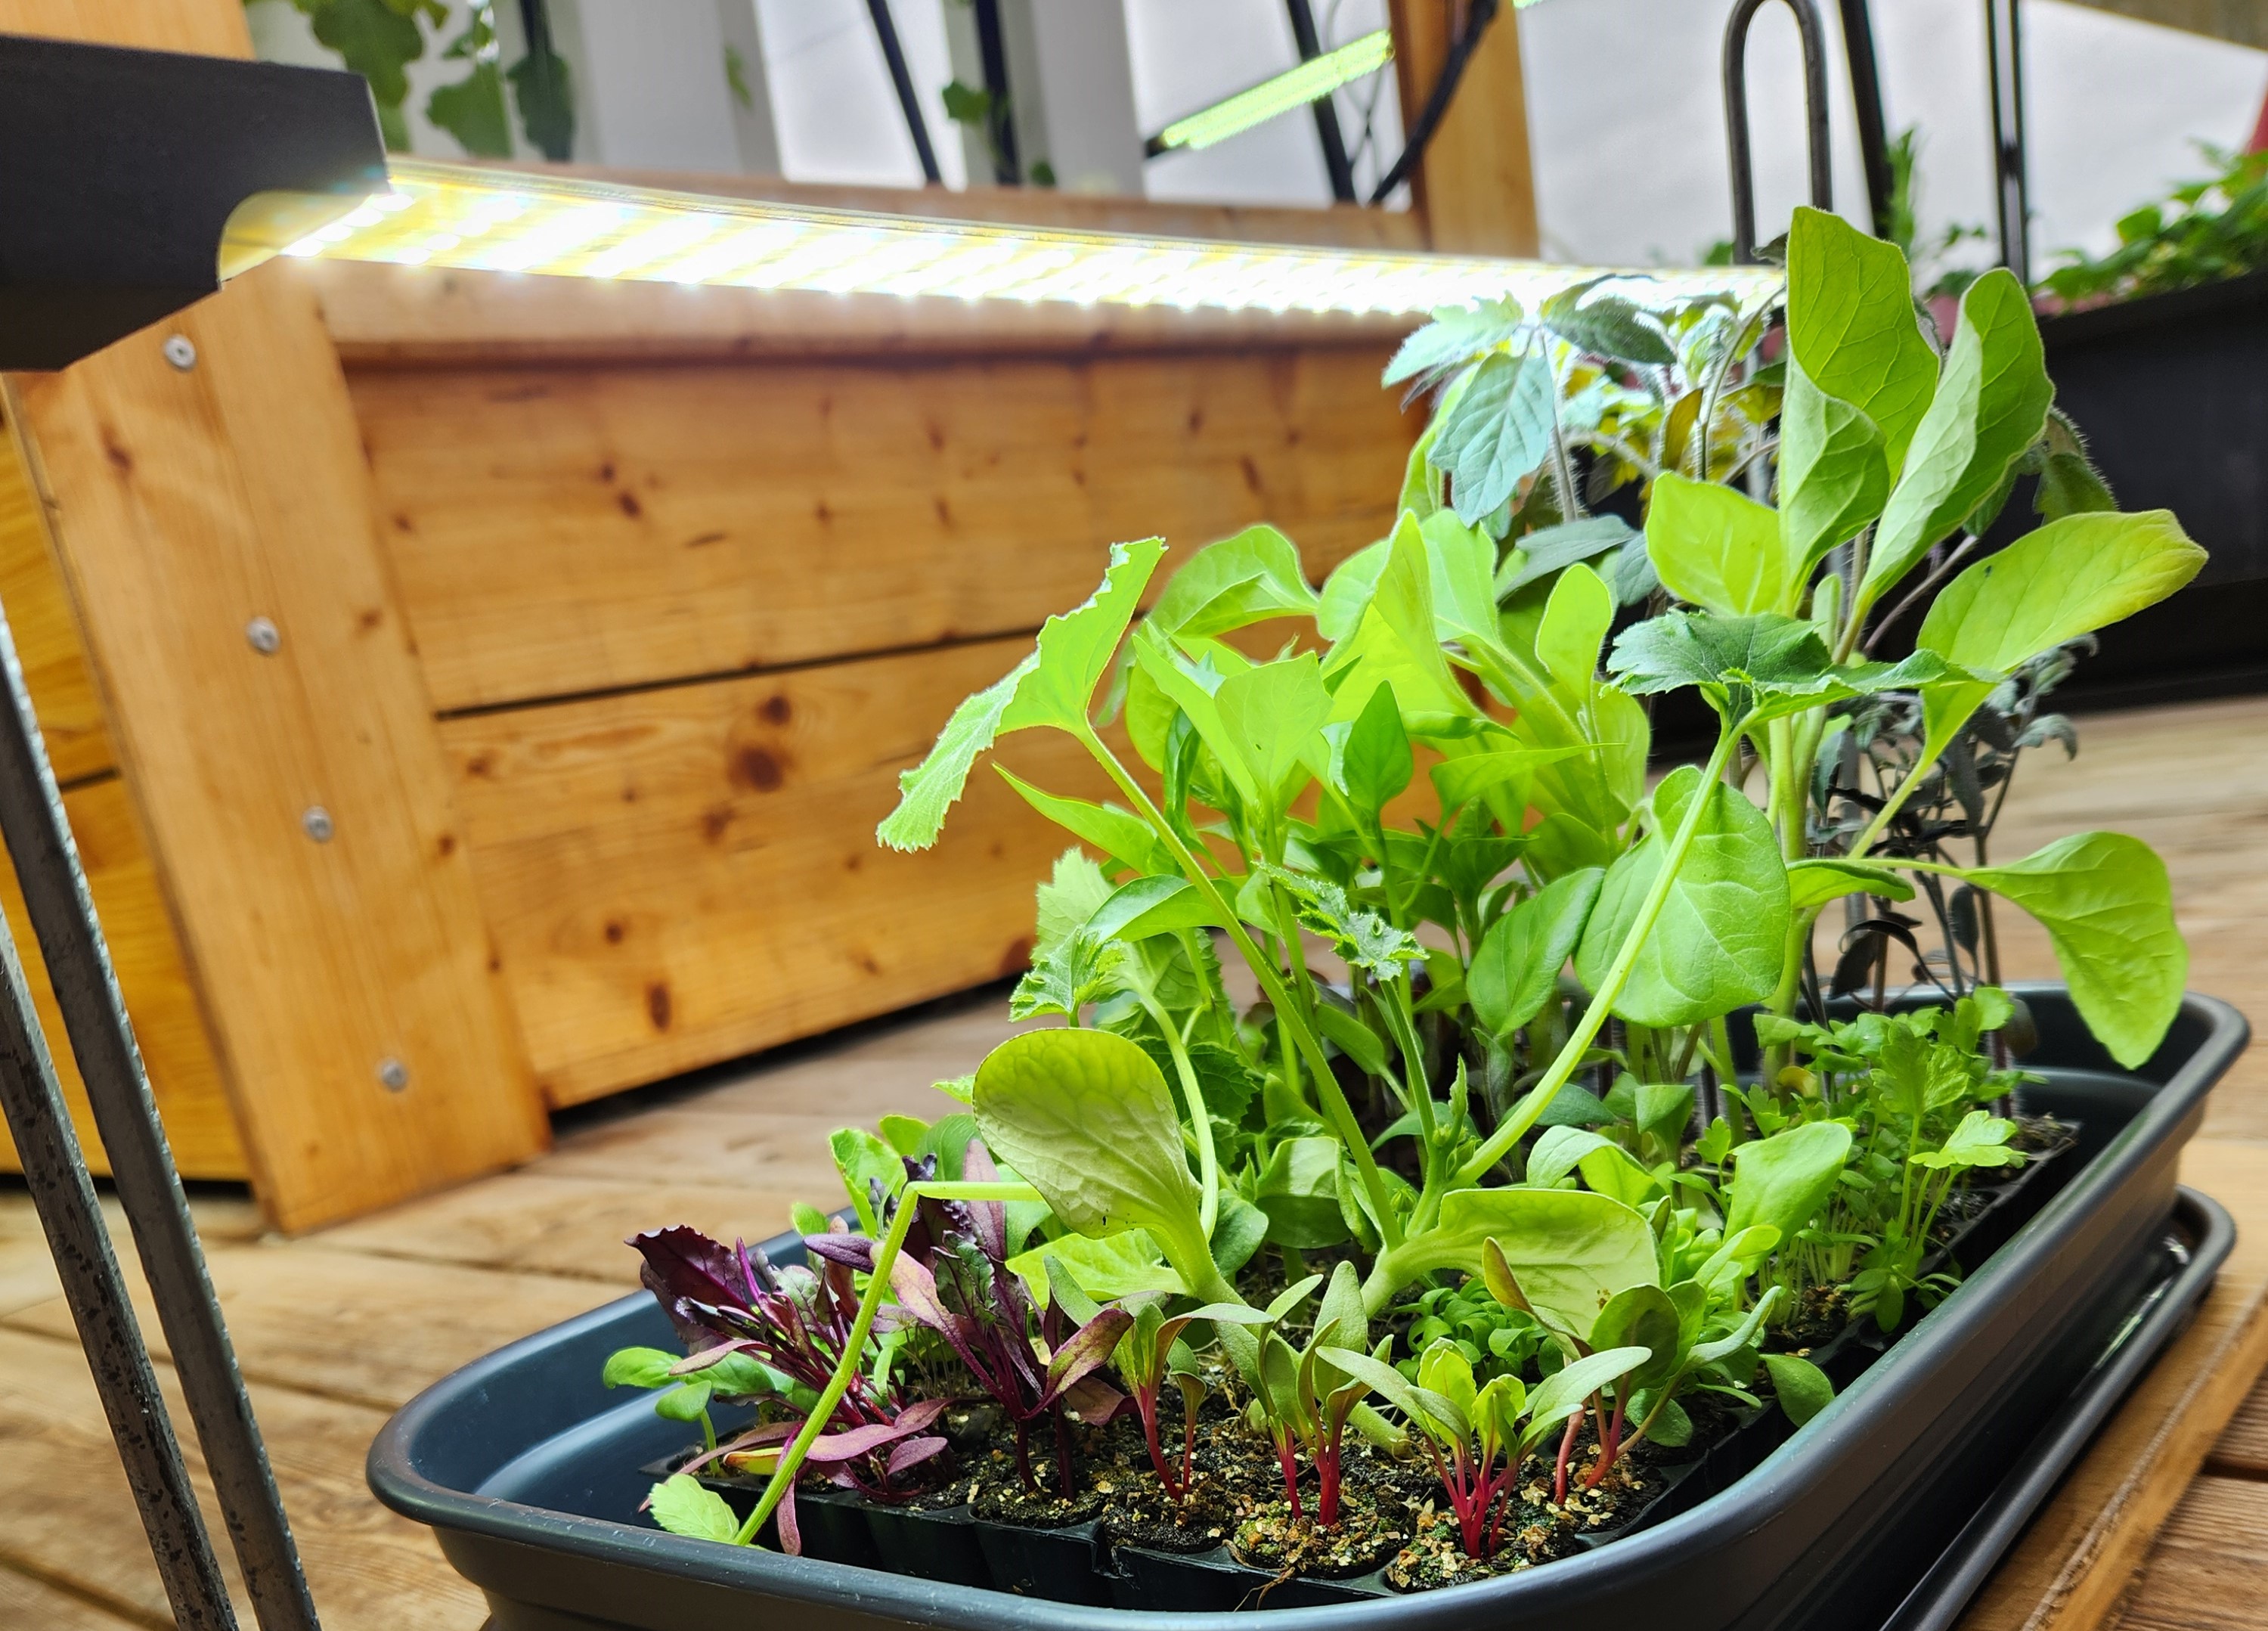
When the seeds have just been sown, place the lamp as close as possible to the substrate.
Raise the lamp by a few centimetres as the seedlings grow.
5. Set the lighting schedule
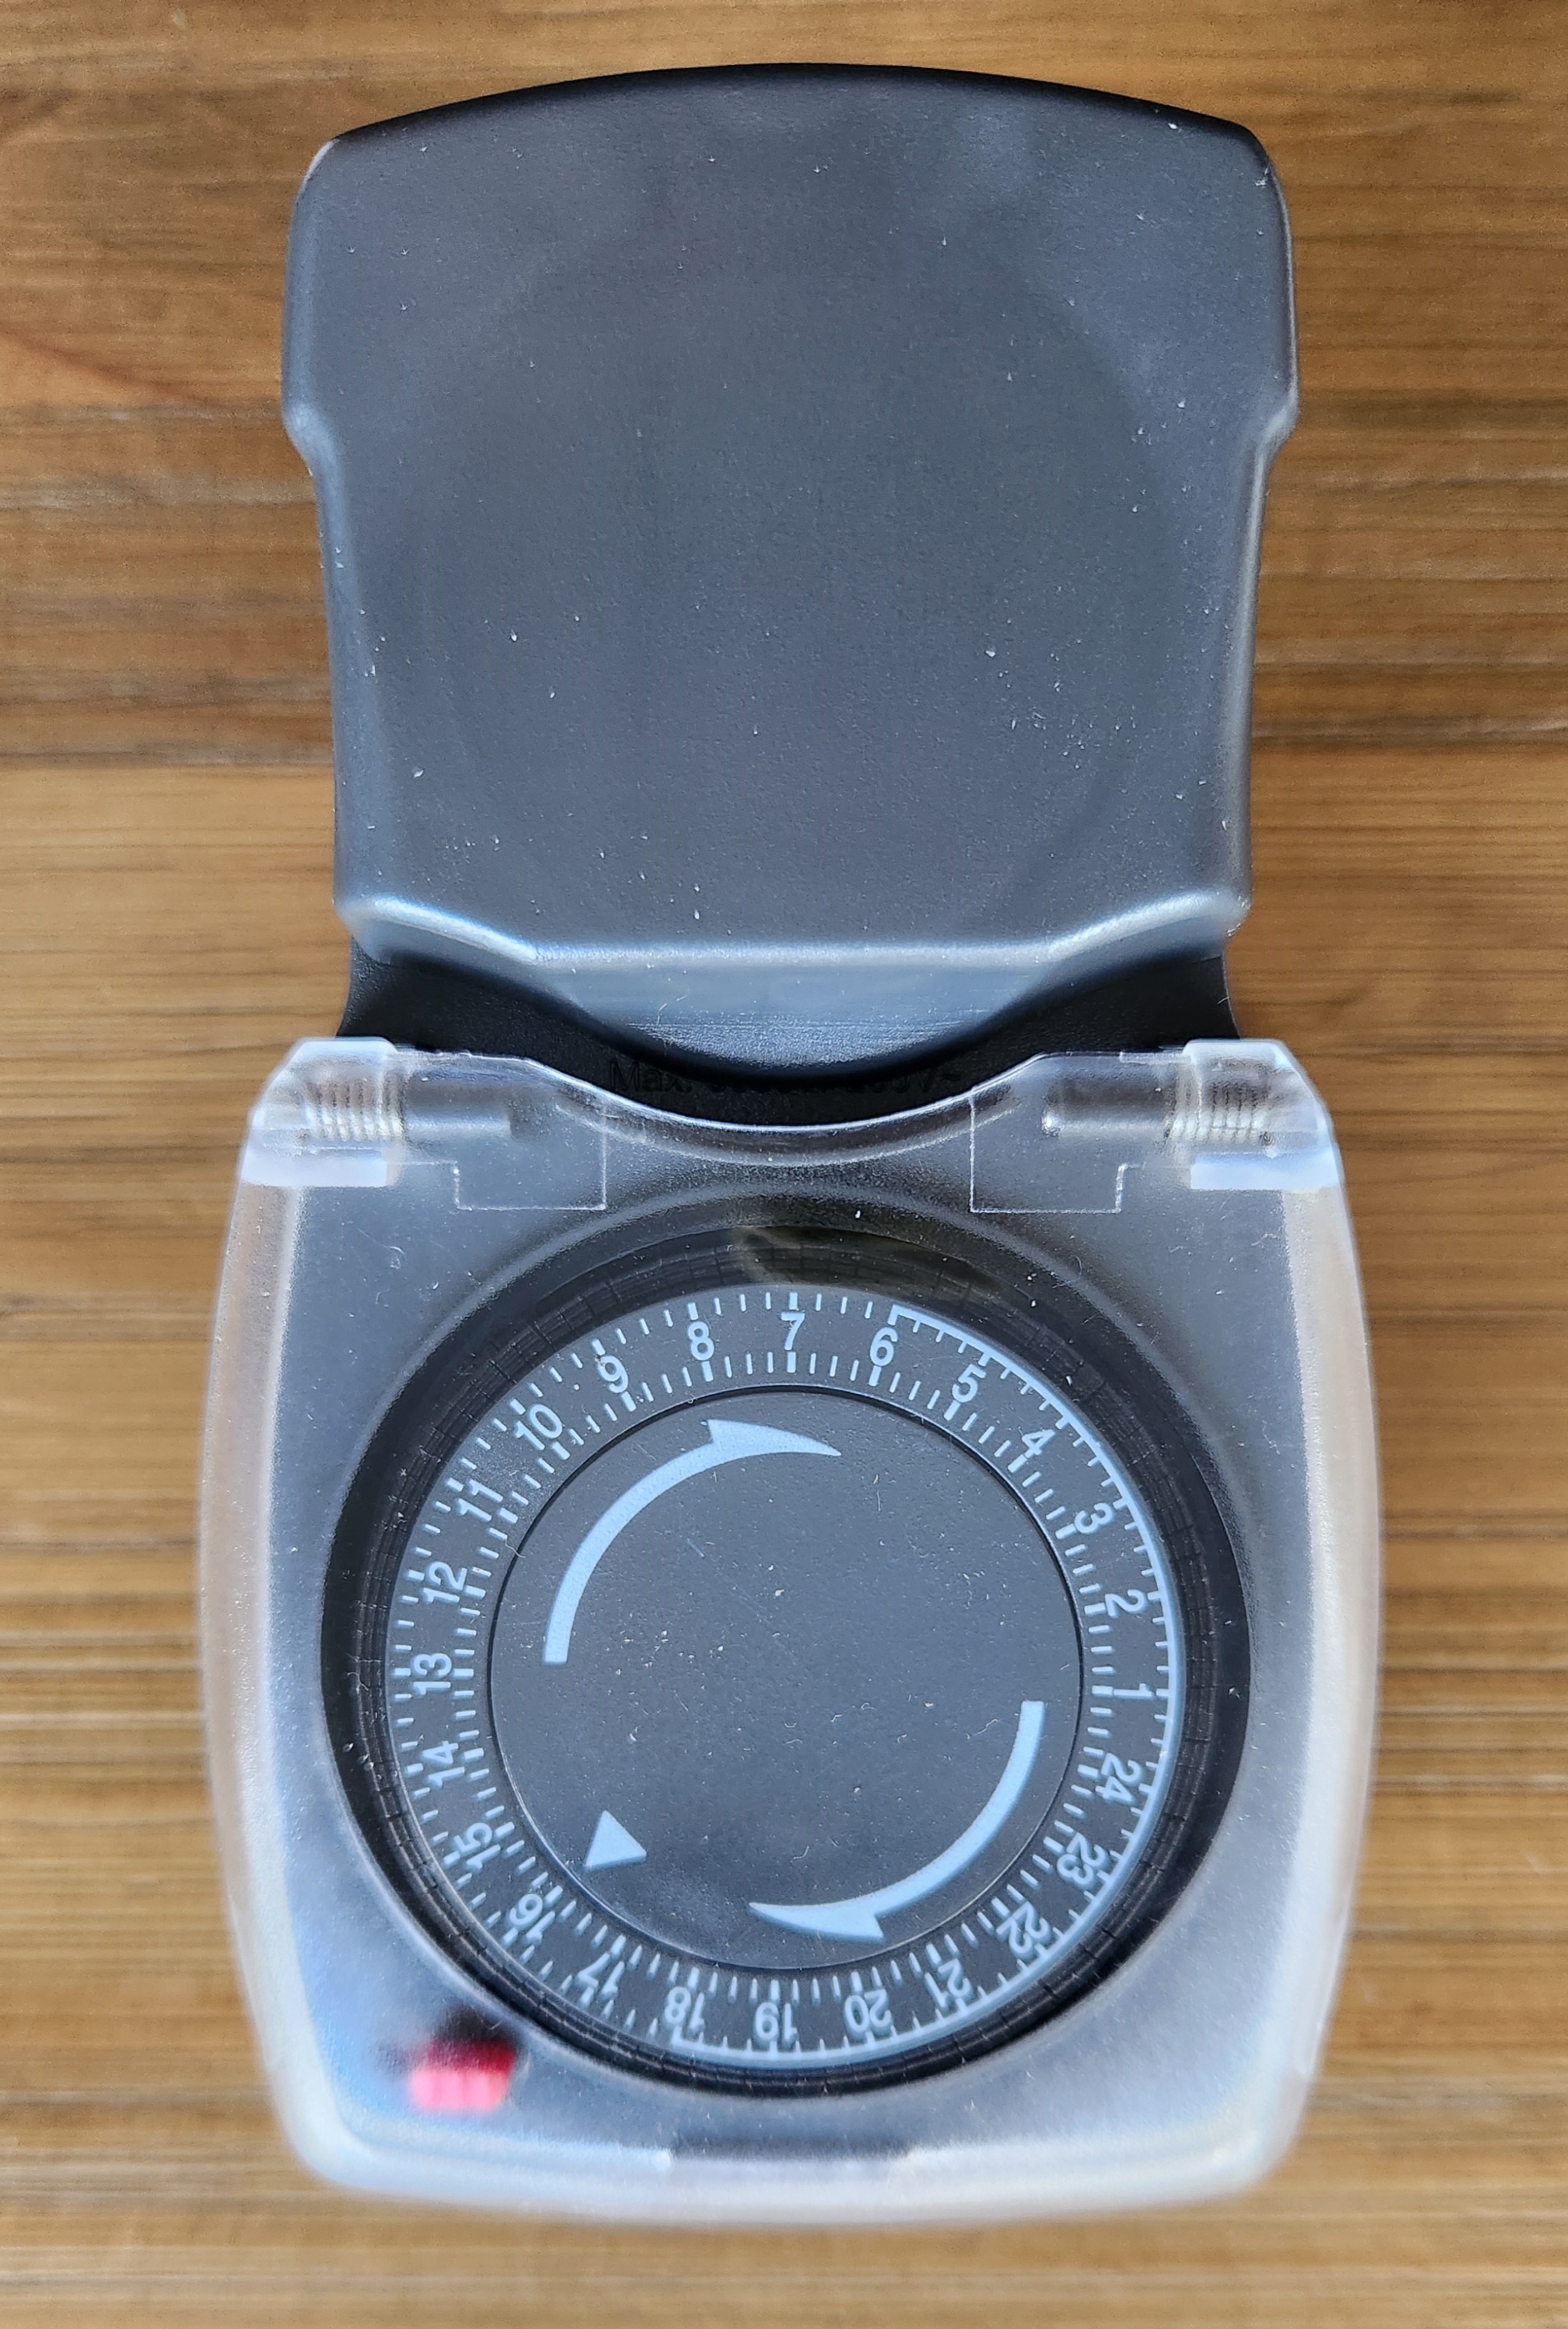
- Plug the lamp into the timer
- Set the timer for the desired lighting duration (Tip: about 15h/day starting from 6 a.m.)
7. Water the sowing
- Water the plugs from above after sowing the seeds, then water the saucer every 2 days. The seedlings must remain moist.
- Be careful not to overwater.
8. Add the root activator
- When the seeds have just been sown, dilute ½ teaspoon of root activator in 1L of water. Water from above.
- Repeat the operation 15 days after sowing the seeds
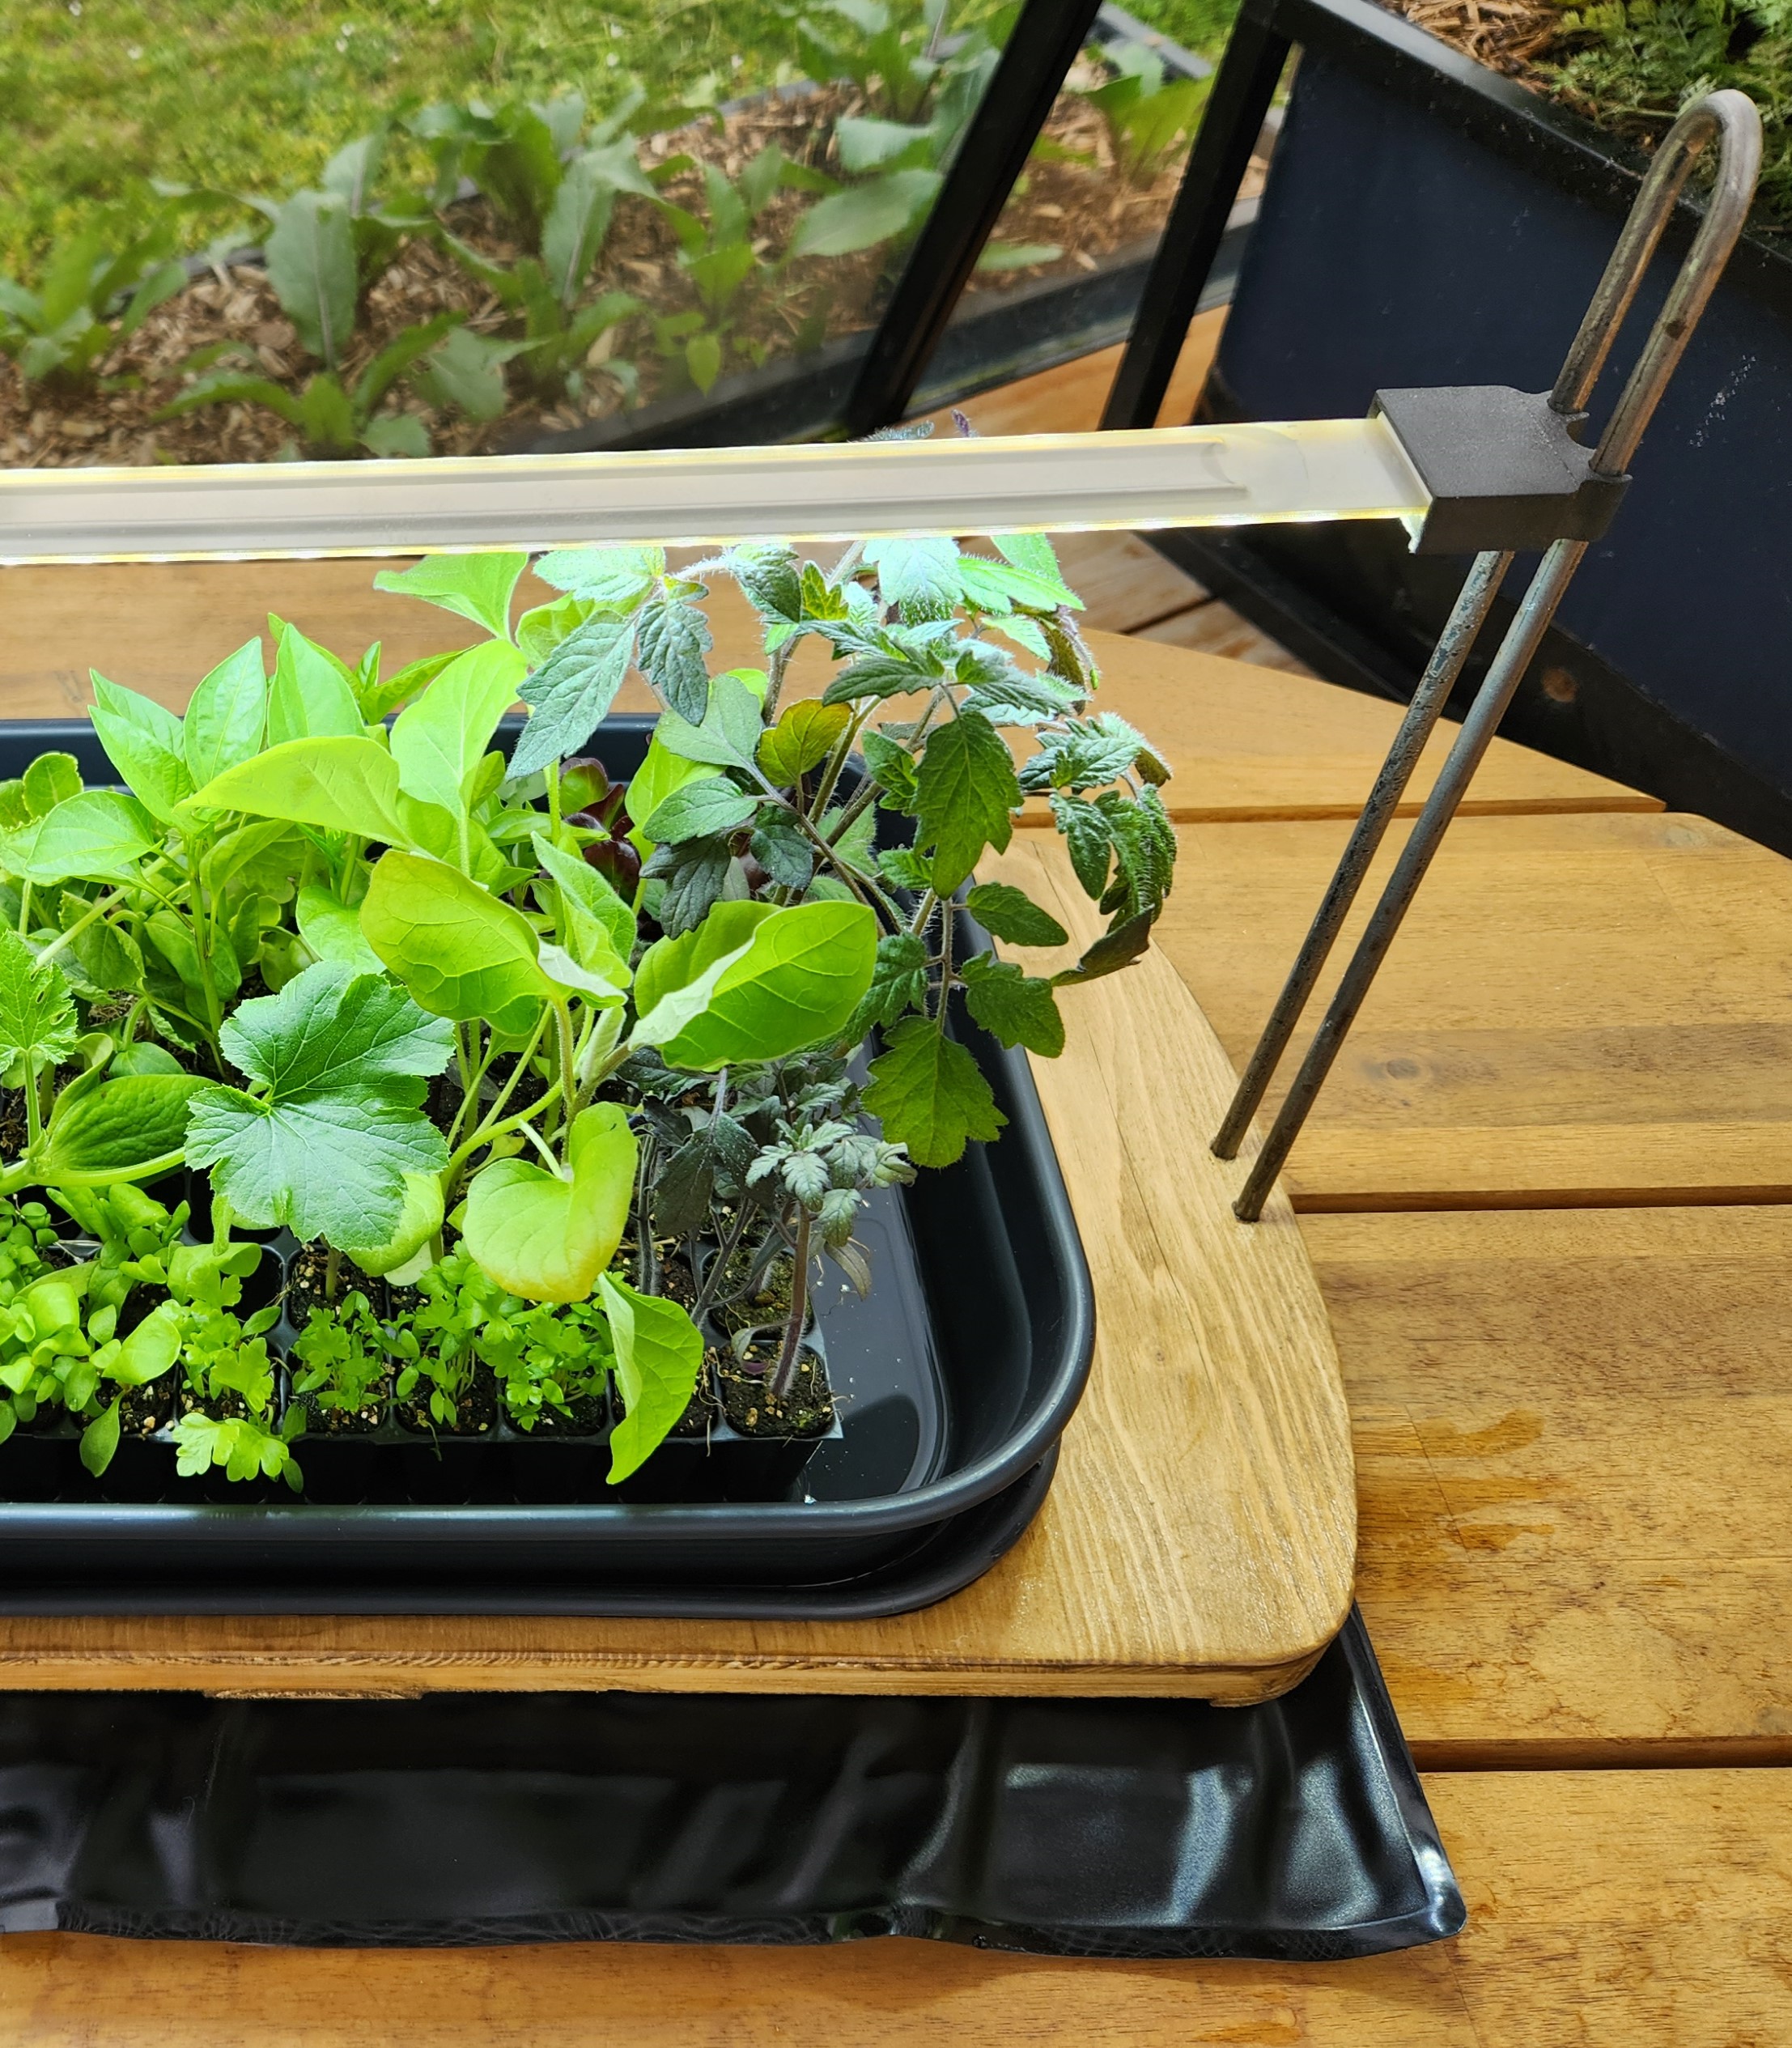
9. Install the heating mat
- The temperature for germination and seedling growth must be above 10°C.
- Between October and March, place the heating mat underneath the seed propagator
10. Plant at the right time
- Seedling growth in the seed propagator lasts between 3 and 8 weeks depending on the plant species.
- The seedlings are ready to be put into cultivation when the true leaves are well developed and the roots are visible and dense.
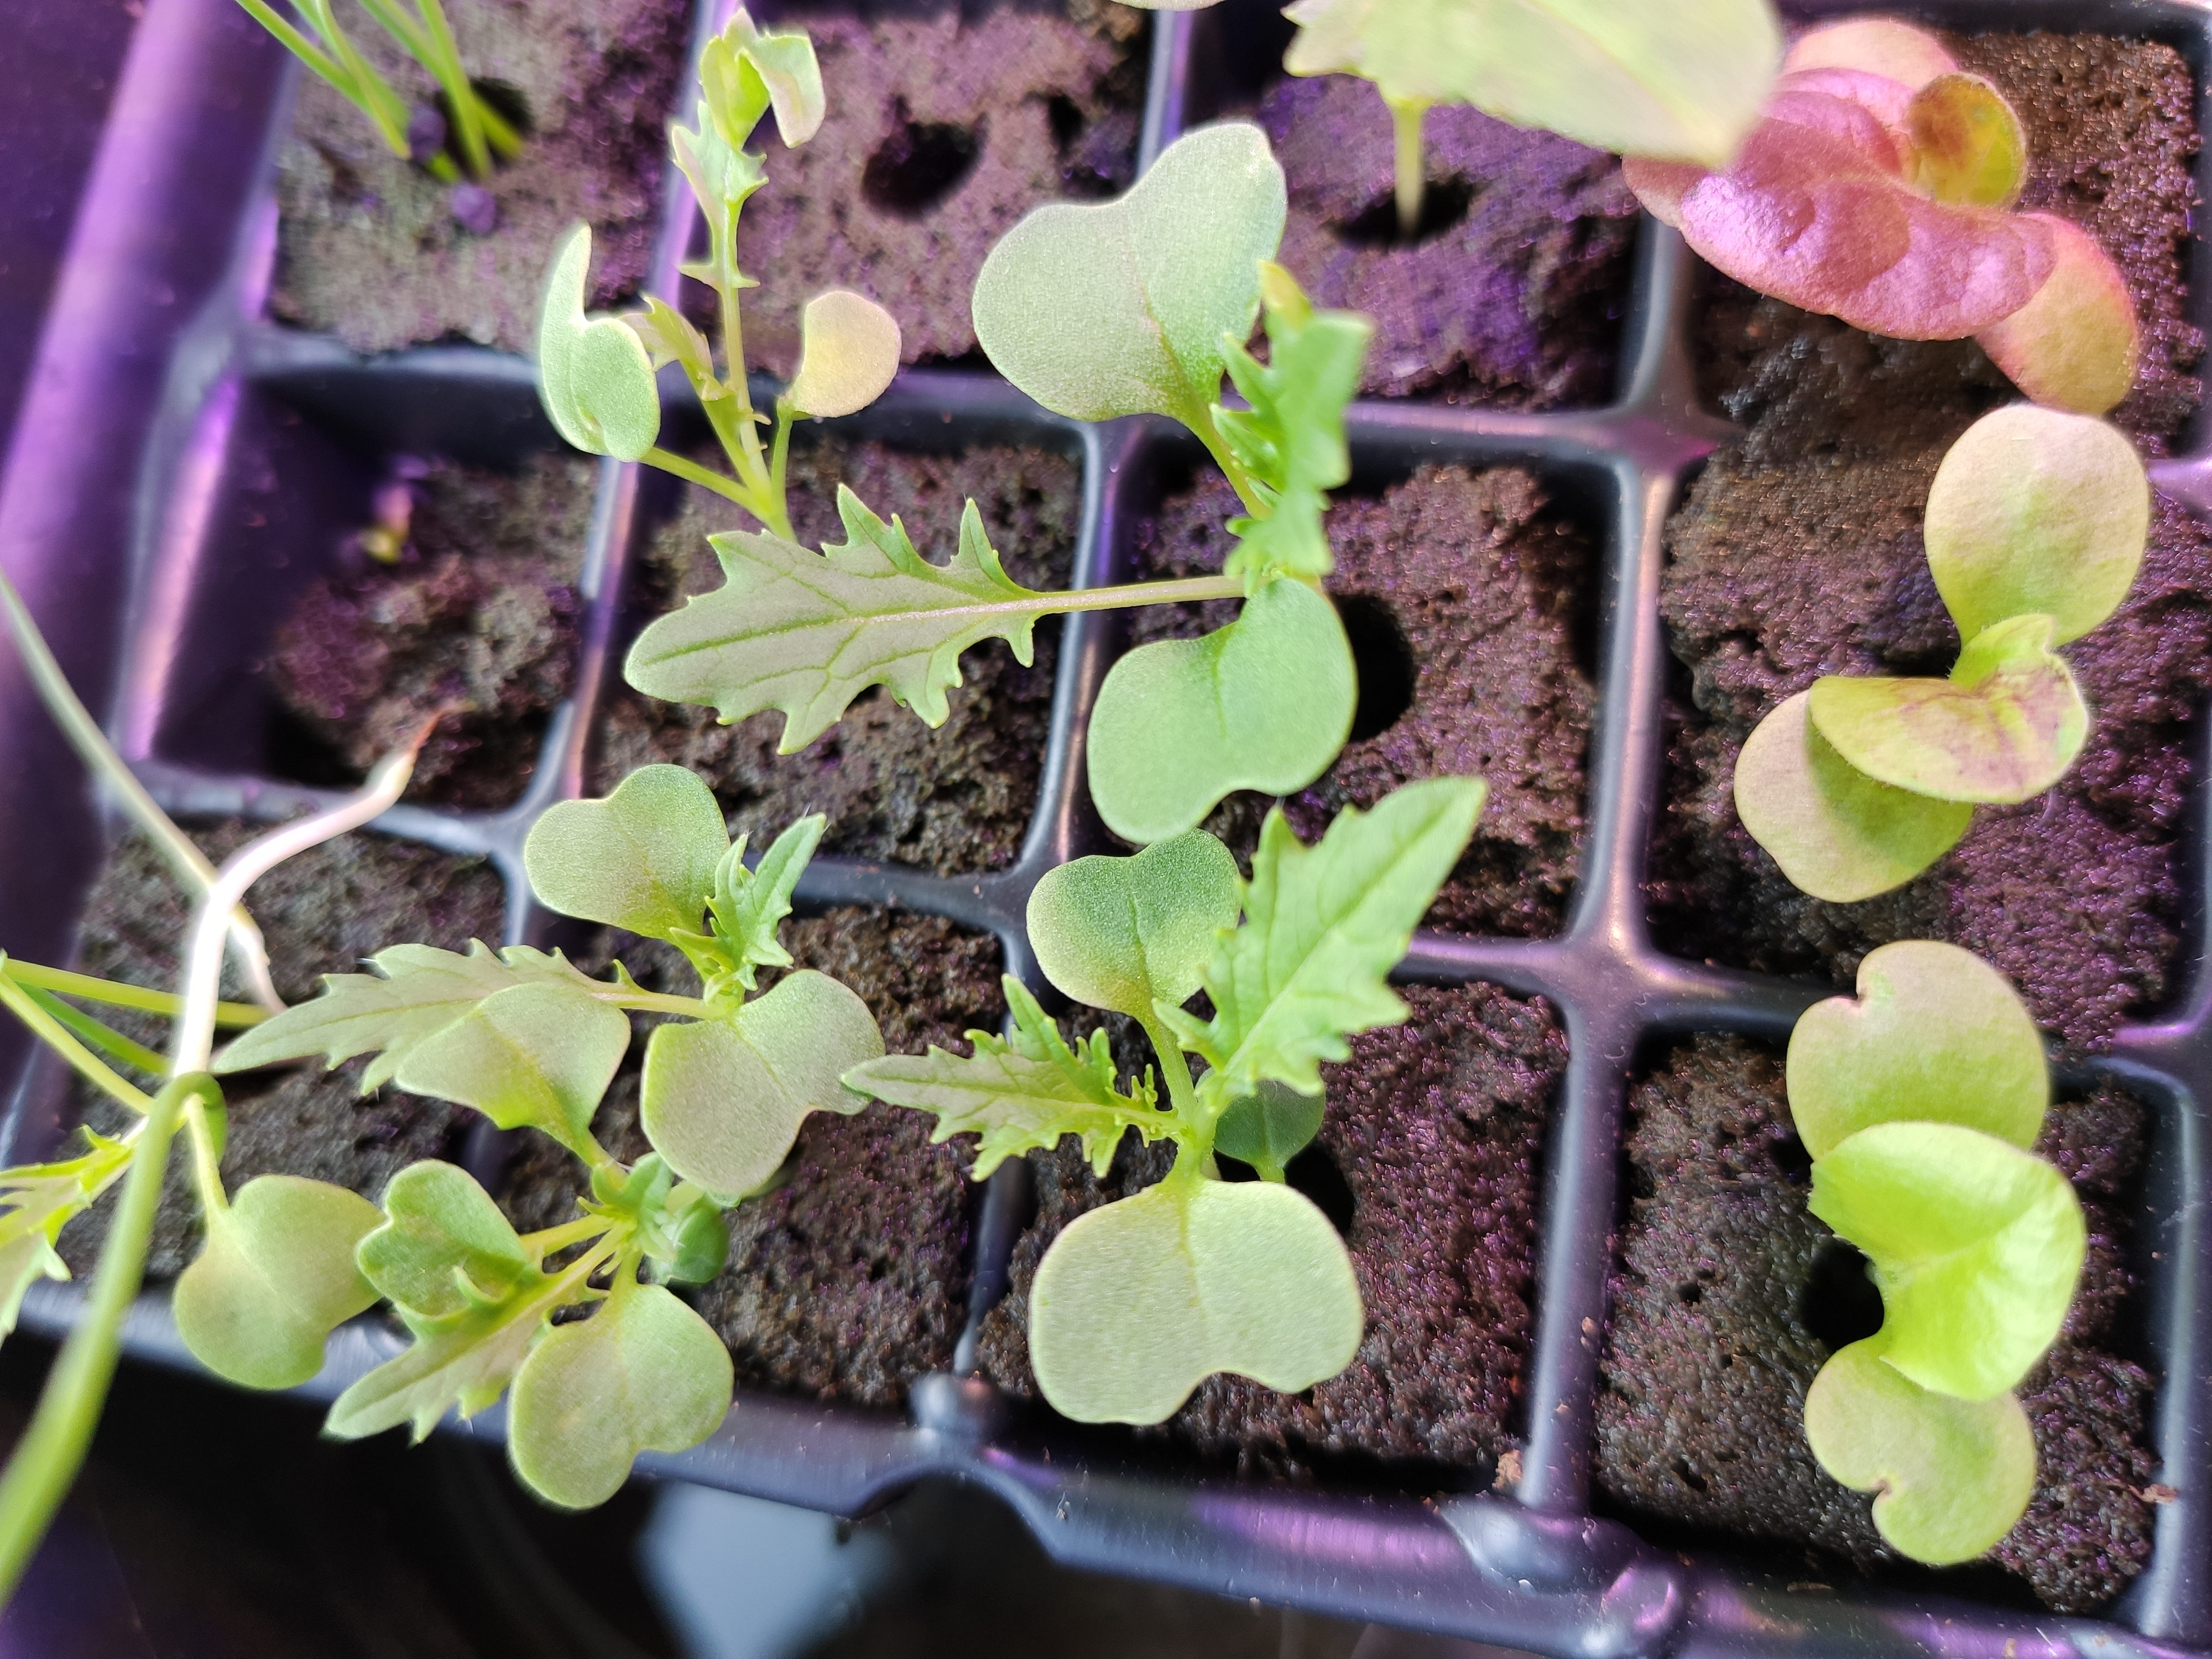
Photo of well-developed above-ground parts.
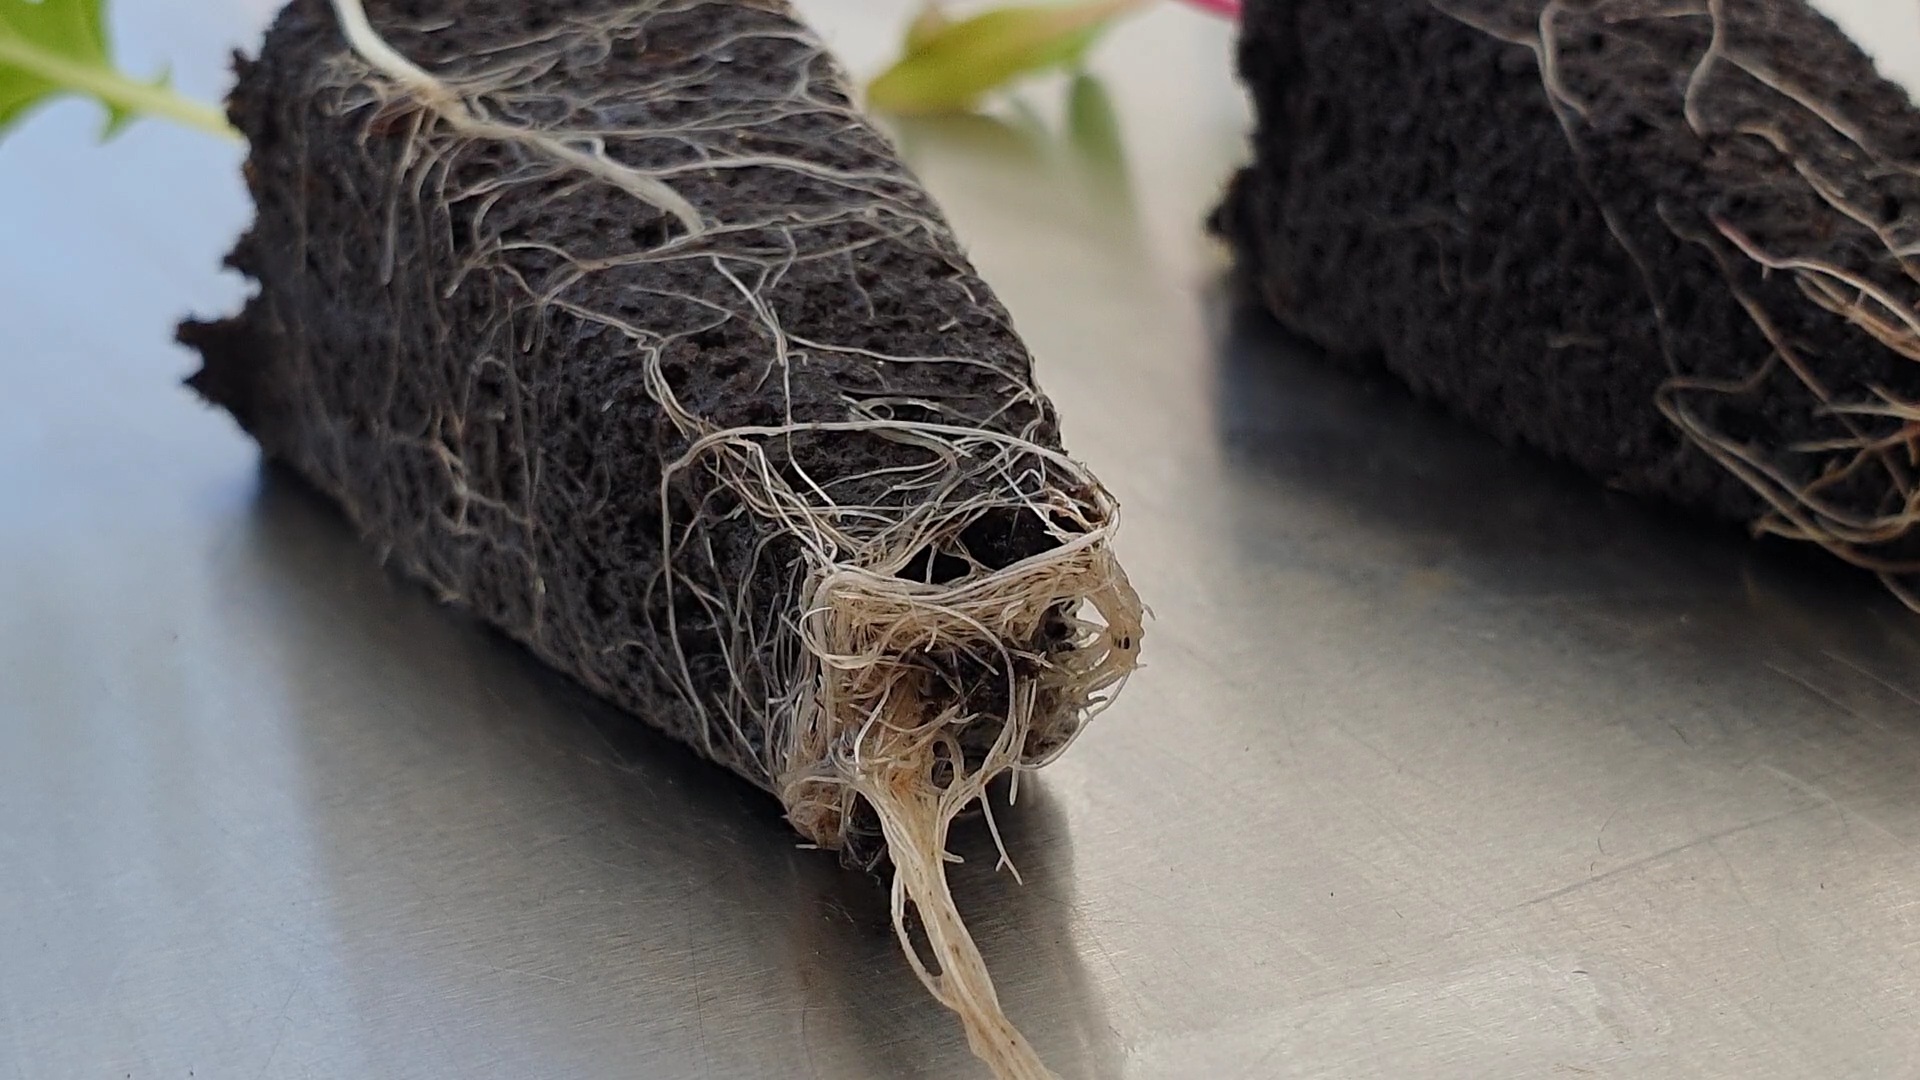
Photo of visible, dense roots.